# How to Deploy OpenObserve on Heroku: A Complete Guide
> Deploy OpenObserve on Heroku without DevOps complexity. Get logs, metrics, and traces monitoring running in minutes with our comprehensive deployment guide.
Source: https://openobserve.ai/blog/deploy-openobserve-on-heroku/
Published: 2025-05-14
Authors: Chaitanya Sistla
Category: How To
Tags: Integrations, OpenObserve
---
## What is Heroku?
Heroku is a cloud Platform-as-a-Service (PaaS) that enables developers to build, run, and scale applications entirely in the cloud. Founded in 2007 and now part of Salesforce, Heroku abstracts away infrastructure complexities, allowing you to focus on your application rather than server management.
## Why Heroku for OpenObserve?
1. **Zero DevOps Overhead**: No need to manage servers, operating systems, or infrastructure
2. **Instant Deployment**: Deploy in minutes with Git push
3. **Automatic Scaling**: Scale up or down based on your needs
4. **Built-in Monitoring**: Monitor your application health out of the box
5. **Free Tier Available**: Perfect for testing and small workloads
6. **Add-ons Ecosystem**: Easy integration with databases and other services
## Prerequisites
Before starting, ensure you have:
- A Heroku account (sign up at heroku.com)
- Git installed on your local machine
- Heroku CLI installed (download here)
## Step-by-Step Deployment Guide
### Step 1: Create Your Heroku Application
First, create a new Heroku application:
```bash
heroku create openobserve
```
This command creates a new app named "openobserve" and sets up a Git remote automatically.
### Step 2: Clone Your Heroku Repository
Clone the empty Heroku repository to your local machine:
```bash
git clone https://git.heroku.com/openobserve.git
cd openobserve
```
### Step 3: Configure the Stack
Set the Heroku stack to the latest version:
```bash
heroku stack:set heroku-24 -a openobserve
```
This ensures you're using the most recent runtime environment.
### Step 4: Download OpenObserve Binary
Download the OpenObserve Linux AMD64 binary:
```bash
curl -L https://github.com/openobserve/openobserve/releases/download/v0.14.7/openobserve-v0.14.7-linux-amd64.tar.gz -o openobserve.tar.gz
tar -xvf openobserve.tar.gz
rm openobserve.tar.gz
chmod +x openobserve
```
### Step 5: Create Required Files
#### Create a Procfile
The Procfile tells Heroku how to run your application:
```
web: ZO_ROOT_USER_EMAIL="$ZO_ROOT_USER_EMAIL" ZO_ROOT_USER_PASSWORD="$ZO_ROOT_USER_PASSWORD" ZO_HTTP_PORT=$PORT ./openobserve
```
Save this as `Procfile` (no file extension).
#### Create package.json
Create a minimal package.json to help Heroku detect the buildpack:
```json
{
"name": "openobserve-heroku",
"version": "1.0.0",
"description": "OpenObserve deployment on Heroku",
"engines": {
"node": "20.x"
}
}
```
### Step 6: Configure Environment Variables
Set the required environment variables:
```bash
heroku config:set ZO_ROOT_USER_EMAIL="admin@example.com" -a openobserve
heroku config:set ZO_ROOT_USER_PASSWORD="SecurePassword123!" -a openobserve
heroku config:set ZO_DATA_DIR="/app/data" -a openobserve
```
### Step 7: Deploy to Heroku
Add all files to Git and deploy:
```bash
git add .
git commit -m "Deploy OpenObserve on Heroku"
git push
```
### Step 8: Verify Deployment
Check the logs to ensure everything is running correctly:
```bash
heroku logs --tail
```
You should see OpenObserve starting up and listening on the assigned port.
### Step 9: Access Your OpenObserve Instance
Visit your Heroku URL:
```
https://openobserve.herokuapp.com (you will get this as soon as deployment is successful)
```
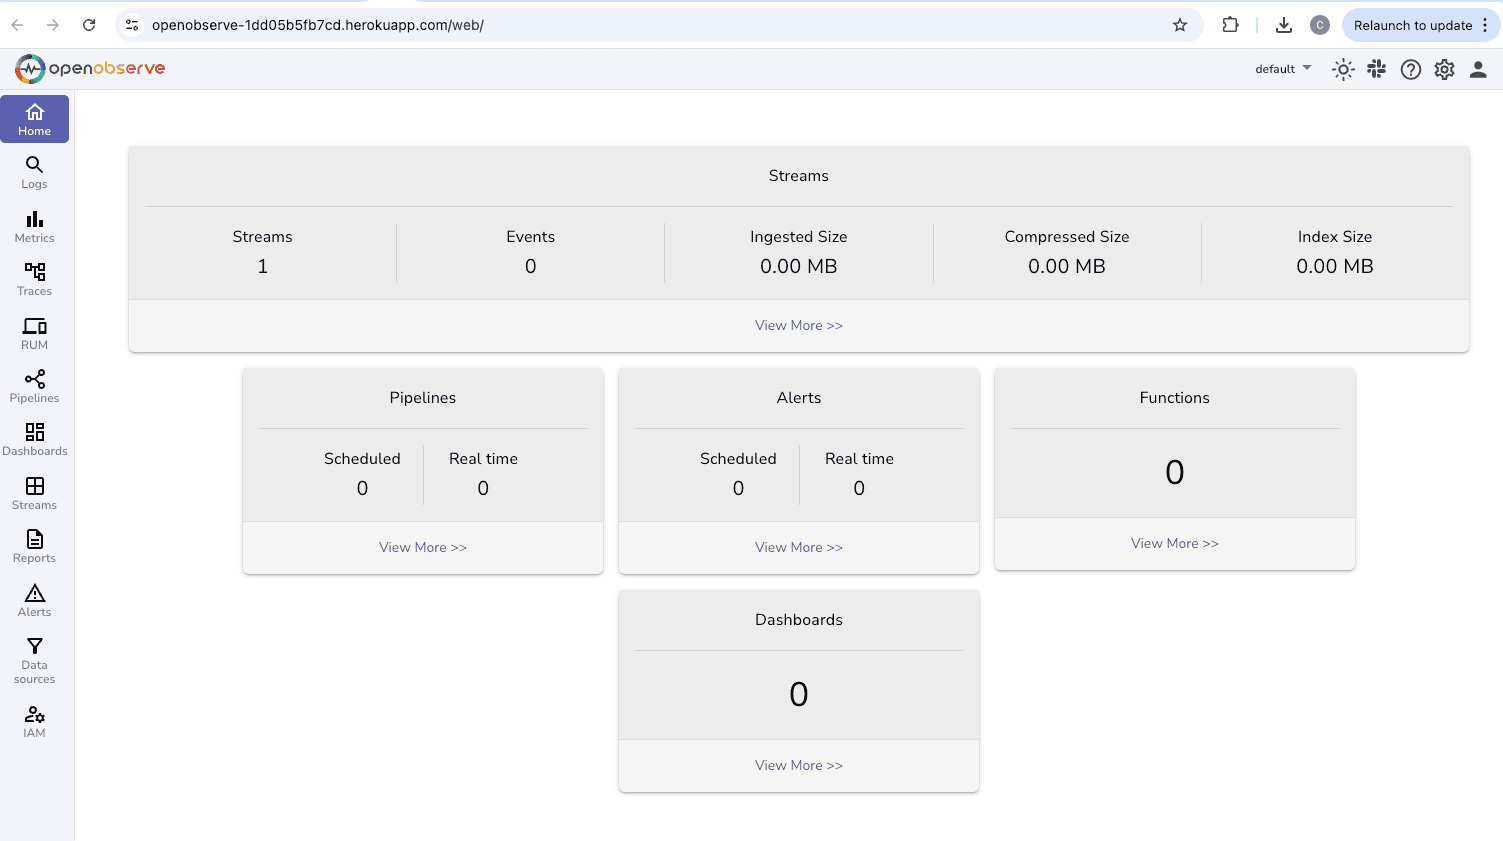
Log in with the email and password you configured earlier.
### Scaling Your Application
Scale for better performance:
```bash
heroku ps:scale web=1:standard-2x -a openobserve
```
## Troubleshooting Common Issues
### Binary Format Error
If you see "cannot execute binary file", ensure you're using the Linux AMD64 binary:
```bash
file openobserve # Should show: ELF 64-bit LSB executable, x86-64
```
### Memory Issues
For larger workloads, upgrade your dyno:
```bash
heroku ps:resize web=performance-m -a openobserve
```
### Port Binding Issues
OpenObserve automatically uses Heroku's PORT environment variable through our Procfile configuration.
## Best Practices for Production
1. **Use External Storage**: Configure S3 or compatible object storage
2. **Enable SSL**: Heroku provides automatic SSL for your application
3. **Set Up Monitoring**: Send logs and metrics to OpenObserve
4. **Configure Backup**: Set up regular backups of your data
5. **Use Performance Dynos**: For production workloads, use performance dynos
> Detailed instructions to monitor Heroku logs can be found in: [How to Monitor Heroku Logs: A Step-by-Step Guide for Developers](https://openobserve.ai/blog/monitor-heroku-logs-developer-guide/).
## Conclusion
Deploying OpenObserve on Heroku combines the power of a modern observability platform with the simplicity of cloud deployment. By following this guide, you can have a production-ready OpenObserve instance running in minutes, without the complexity of traditional infrastructure management.
Heroku's platform abstracts away the complexities of deployment, scaling, and maintenance, allowing you to focus on using OpenObserve for your observability needs. Whether you're monitoring applications, analyzing logs, or tracking metrics, this deployment method provides a reliable, scalable solution.
## Next Steps
- Explore OpenObserve's features for log analysis and metrics
- Set up data ingestion from your applications
- Configure alerts and dashboards
- Integrate with your existing monitoring stack
> #### Get Started with OpenObserve Today!
> Sign up for a [14 day trial](https://cloud.openobserve.ai)
>Check out our GitHub repository for self-hosting and contribution opportunities