
Integration with Ansible
This guide walks you through forwarding Ansible logs from an Ubuntu machine to OpenObserve using Fluent Bit.
Overview
Ansible doesn’t send logs to external systems by default. This integration configures a local playbook to write logs to a file, and uses Fluent Bit to tail that file and send logs to OpenObserve over HTTP.
Steps to Integrate
Prerequisites
- Ubuntu machine (local, virtual machine, or cloud VM)
- User with
sudoprivileges - Basic familiarity with Ansible and Fluent Bit
- OpenObserve account (Cloud or Self-Hosted)
- Ansible Installed
Step 1: Configure Ansible log File
- Configure log output path in
ansible.cfg:
[defaults]
log_path = /tmp/ansible_log_demo.txt
Step 2: Create a Local Ansible Task (Optional)
- Create a sample playbook:
vi local_task.yml- Add the following contents:
---
- name: Ansible Local Task Demo
  hosts: localhost
  connection: local
  tasks:
    - name: Create a sample file
      ansible.builtin.file:
        path: /tmp/ansible_log_demo.txt
        state: touch

    - name: Write a message to the sample file
      ansible.builtin.copy:
        content: "This is a demo log entry from Ansible."
dest: /tmp/ansible_log_demo.txt- Run the playbook:
ansible-playbook local_task.ymlAfter running, check /tmp/ansible_log_demo.txt to confirm logs are generated.
Step 3: Install Fluent Bit on Ubuntu
- Install Fluent Bit using the official script:
curl https://raw.githubusercontent.com/fluent/fluent-bit/master/install.sh | shFor manual install or using package managers, refer to Fluent Bit Docs
- Verify installation:
fluent-bit --versionStep 4: Configure Fluent Bit for Ansible Logs
- Edit Fluent Bit config file:
sudo vi /etc/fluent-bit/fluent-bit.conf- Add the following configuration:
[SERVICE]
    Flush         5
    Daemon        Off
    Log_Level     info

[INPUT]
    Name          tail
    Path          /tmp/ansible_log_demo.txt
    Tag           ansible.demo
    Refresh_Interval 5

[OUTPUT]
    Name http
    Match *
    URI /api/<O2_ORG_NAME>/<O2_STREAM_NAME>/_json
    Host <O2_HOST>
    Port 443
    tls On
    Format json
    Json_date_key    _timestamp
    Json_date_format iso8601
    HTTP_User <O2_USER>
    HTTP_Passwd <O2_PASSWORD>
    compress gzip
Note - Replace
<O2_ORG_NAME>,<O2_STREAM_NAME>,<O2_HOST>,<O2_USER>, and<O2_PASSWORD>with your OpenObserve values. - Example URI:/api/default/ansible/_jsonfor thedefaultorg andansiblestream.
Step 5: Start Fluent Bit
- Start the Fluent Bit service:
sudo systemctl start fluent-bit
sudo systemctl enable fluent-bit- Check service status:
sudo systemctl status fluent-bitEnsure there are no startup errors. Logs will now be tailed and sent to OpenObserve.
Step 6: Verify Logs in OpenObserve
-
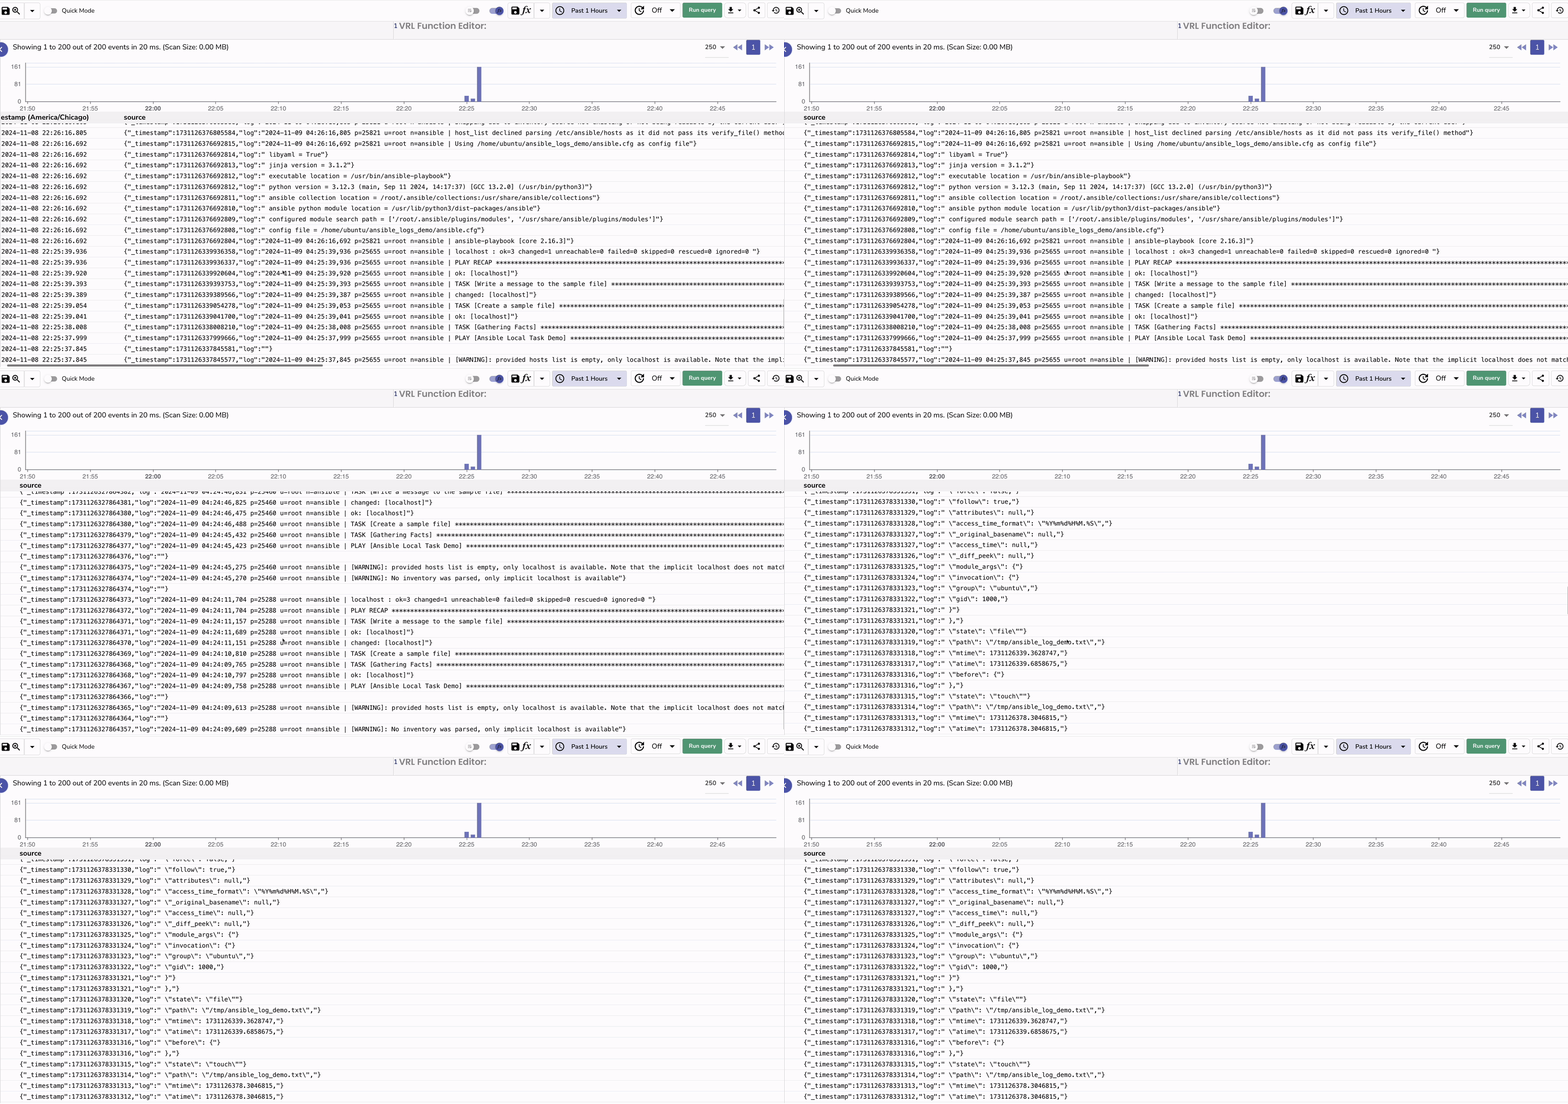
In your Openobserve instance, Go to Logs → select your log stream → Set time range → Click Run Query
Troubleshooting
No logs in OpenObserve?
- Ensure Fluent Bit is running:
sudo systemctl status fluent-bit - Double-check the HTTP config and authentication
- Use Fluent Bit in debug mode:
sudo fluent-bit -c /etc/fluent-bit/fluent-bit.conf -vvAnsible log file not updating?
- Confirm
log_pathis correctly set inansible.cfg - Use verbose flags (
-v,-vv,-vvv) to produce more logs - Confirm Ansible has permission to write to
/tmp
Fluent Bit not picking up logs?
- Make sure the path
/tmp/ansible_log_demo.txtexists - Tail the file manually to confirm updates:
tail -f /tmp/ansible_log_demo.txt- Adjust
Refresh_Intervalor restart Fluent Bit if needed
Last updated on