Monitoring AWS Cognito Logs with OpenObserve: From Raw Data to Real Insights

Nitya Timalsina
January 18, 2025
16 min read
Don’t forget to share!
Try OpenObserve Cloud today for more efficient and performant observability.
Ever wonder what's happening behind the scenes of your user authentication system? If you're using AWS Cognito, you're sitting on a goldmine of security insights – but only if you know how to tap into it.
Authentication logs might not sound exciting at first glance, but they tell fascinating stories about your application. Every failed login could be a user who needs help, every unusual pattern might reveal an emerging security threat, and every successful authentication adds to the tale of how users interact with your system.
In this guide, we'll explore how to capture these stories from AWS Cognito logs and transform them into meaningful insights. Whether you're investigating security incidents, optimizing user experience, or maintaining compliance, you'll learn how to build a monitoring system that helps you understand what's really happening in your authentication system.
To effectively monitor AWS Cognito authentication events, our architecture leverages AWS EventBridge for enhanced event routing and processing. In this system:
Here's how the components interact:

Here's how these components together together for effective authentication monitoring:
Every time a user interacts with your authentication system, Cognito generates an event. These events contain crucial information about the authentication attempt, security context, and potential risks.
Here's an example of a typical authentication event:
{
    "eventType": "SignIn",
    "userPoolId": "us-east-1_xxxxx",
    "timestamp": "2024-03-15T10:30:45.123Z",
    "userIdentifier": "user@example.com",
    "sourceIp": "192.168.1.1",
    "eventResponse": "Success",
    "riskLevel": "LOW",
    "authenticationDetails": {
        "authMethod": "USER_PASSWORD_AUTH",
        "mfaType": "SMS"
    }
}
Let's break down the key fields:
Understanding these fields is crucial because they'll form the basis of our monitoring insights.
Before diving into monitoring, we need a working authentication system to monitor. We'll create a simple local testing environment that's easy to set up and verify.
mkdir auth-monitoring-demo
cd auth-monitoring-demo
<!DOCTYPE html>
<html>
<head>
    <title>Auth Monitoring Demo</title>
    <script src="https://cdn.jsdelivr.net/npm/amazon-cognito-identity-js/dist/amazon-cognito-identity.min.js"></script>
    <style>
        body {
            font-family: Arial, sans-serif;
            max-width: 800px;
            margin: 0 auto;
            padding: 20px;
        }
        .auth-container {
            border: 1px solid #ddd;
            padding: 30px;
            border-radius: 8px;
            margin-top: 20px;
            background-color: #fff;
            box-shadow: 0 2px 4px rgba(0,0,0,0.1);
        }
        .button {
            padding: 12px 24px;
            margin: 5px;
            cursor: pointer;
            background-color: #0066cc;
            color: white;
            border: none;
            border-radius: 4px;
            font-size: 16px;
            transition: background-color 0.2s;
        }
        .button:hover {
            background-color: #0052a3;
        }
        #status {
            margin: 20px 0;
            padding: 15px;
            border-radius: 4px;
            font-size: 16px;
            text-align: center;
        }
        .success {
            background-color: #dff0d8;
            color: #3c763d;
            border: 1px solid #d6e9c6;
        }
        .error {
            background-color: #f2dede;
            color: #a94442;
            border: 1px solid #ebccd1;
        }
        .info-box {
            background-color: #e8f4f8;
            padding: 20px;
            border-radius: 4px;
            margin: 20px 0;
        }
        .config-info {
            font-family: monospace;
            background-color: #f5f5f5;
            padding: 15px;
            margin: 10px 0;
            border-radius: 4px;
            white-space: pre-wrap;
            border: 1px solid #ddd;
        }
        .auth-buttons {
            text-align: center;
            margin-top: 20px;
        }
        h1 {
            color: #333;
            text-align: center;
            margin-bottom: 30px;
        }
        .hidden {
            display: none;
        }
    </style>
</head>
<body>
    <h1>Auth Monitoring Demo</h1>

    <div class="auth-container">
        <div class="info-box">
            <h2>AWS Cognito Authentication</h2>
            <p>Use the buttons below to test authentication flows. All authentication events will be captured for monitoring.</p>
            <div id="configSection" class="config-info hidden">
                <strong>Current Configuration:</strong>
                <pre id="configInfo"></pre>
            </div>
        </div>

        <div id="status">Not authenticated</div>

        <div class="auth-buttons">
            <button class="button" onclick="initiateSignIn()">Sign In with Cognito</button>
            <button class="button" onclick="signOut()">Sign Out</button>
        </div>
    </div>

    <script>
        // Function to parse full Cognito URL into domain
        function parseCognitoDomain(fullUrl) {
            const urlWithoutProtocol = fullUrl.replace(/^https?:\/\//, '');
            return urlWithoutProtocol.replace(/\/$/, '');
        }

        // Replace these values with your Cognito configuration
        const config = {
            userPoolId: 'YOUR_USER_POOL_ID',
            region: 'YOUR_REGION',
            clientId: 'YOUR_CLIENT_ID',
            cognitoDomain: parseCognitoDomain('YOUR_COGNITO_DOMAIN.auth.YOUR_REGION.amazoncognito.com')
        };

        function updateConfigDisplay(show) {
            const configSection = document.getElementById('configSection');
            if (show) {
                configSection.classList.remove('hidden');
                document.getElementById('configInfo').textContent =
                    `User Pool ID: ${config.userPoolId}\n` +
                    `Region: ${config.region}\n` +
                    `Domain: ${config.cognitoDomain}`;
            } else {
                configSection.classList.add('hidden');
            }
        }

        // Handle the OAuth callback
        function handleCallback() {
            const urlParams = new URLSearchParams(window.location.search);
            const code = urlParams.get('code');
            const error = urlParams.get('error');

            if (code) {
                document.getElementById('status').innerHTML = 'Authentication successful!';
                document.getElementById('status').className = 'success';
                localStorage.setItem('authCode', code);
                updateConfigDisplay(true);
            } else if (error) {
                document.getElementById('status').innerHTML = 'Authentication failed!';
                document.getElementById('status').className = 'error';
                updateConfigDisplay(false);
            }
        }

        // Initiate sign-in using Cognito Hosted UI
        function initiateSignIn() {
            const redirectUri = window.location.origin;
            const cognitoUrl = `https://${config.cognitoDomain}/login?` +
                `client_id=${config.clientId}&` +
                `response_type=code&` +
                `scope=email+openid+profile&` +
                `redirect_uri=${encodeURIComponent(redirectUri)}`;

            window.location.href = cognitoUrl;
        }

        // Sign out
        function signOut() {
            const redirectUri = window.location.origin;
            const cognitoUrl = `https://${config.cognitoDomain}/logout?` +
                `client_id=${config.clientId}&` +
                `logout_uri=${encodeURIComponent(redirectUri)}`;

            localStorage.removeItem('authCode');
            updateConfigDisplay(false);
            window.location.href = cognitoUrl;
        }

        // Check authentication status on page load
        function checkAuthStatus() {
            const authCode = localStorage.getItem('authCode');
            if (authCode) {
                document.getElementById('status').innerHTML = 'Authentication successful!';
                document.getElementById('status').className = 'success';
                updateConfigDisplay(true);
            } else {
                updateConfigDisplay(false);
            }
        }

        // Initialize page
        checkAuthStatus();
        handleCallback();
    </script>
</body>
</html>
With Python 3 installed, you can start a local server easily. In your terminal:
# Navigate to your project directory
cd auth-monitoring-demo

# Start the server
python -m http.server 8000
You should see output indicating the server is running. Keep this terminal window open while testing.
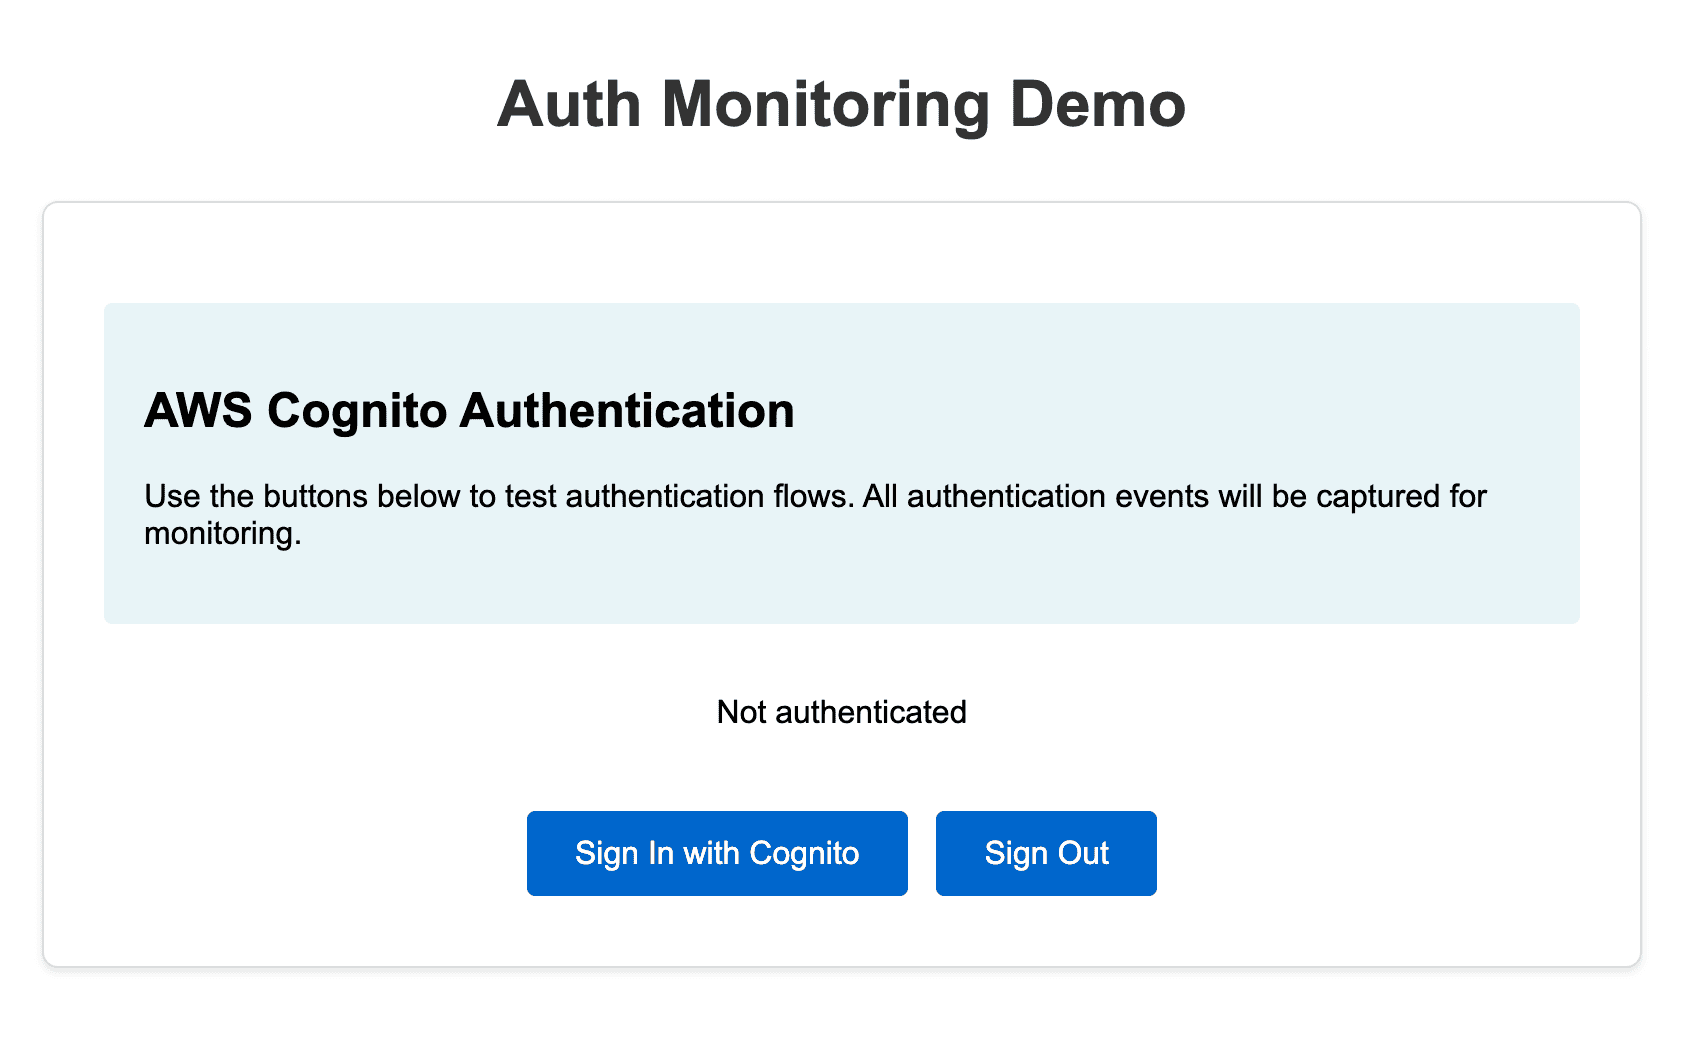
Now, if you navigate to http://localhost:8000/ on a browser, you will be able to see the authentication monitoring demo page. We will use this to simulate Cognito activity:
Next, let's set up the authentication service by configuring Amazon Cognito:
Once configured, your Cognito user pool will look like this: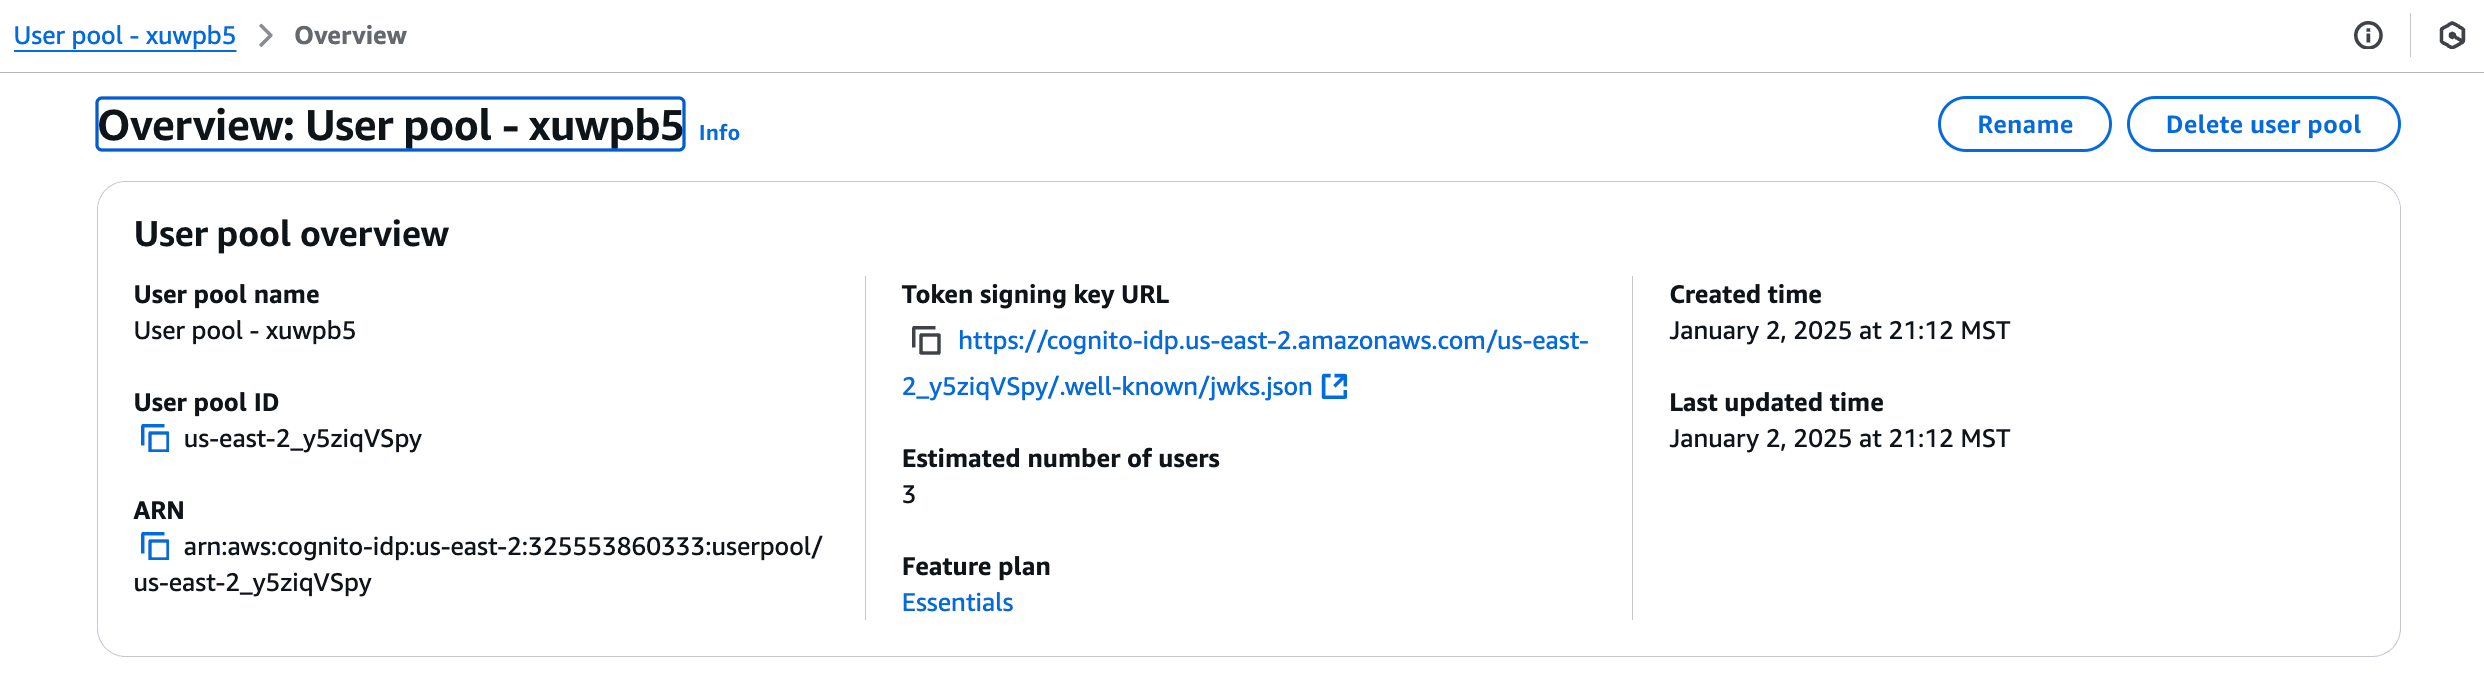
From your app client page, collect:
Update your index.html config section:
const config = {
    userPoolId: 'us-east-2_xxxxxx',    // From User Pool Overview
    region: 'your-region',               // Your AWS region
    clientId: 'your-client-id',  // From App Client page
    cognitoDomain: 'your-prefix.auth.your-region.amazoncognito.com'  // From Domain page
};
python -m http.server 8000
If you see the success message after signing in, your authentication setup is working correctly! You can now use this set-up to test various authentication scenarios like: correct login details, incorrect password, forgot password, create an account, etc.
While AWS Cognito's Plus plan offers built-in monitoring features, we can build a more flexible and cost-effective solution using AWS's event-driven architecture. This approach gives us complete control over our authentication monitoring, custom alerting capabilities, and the ability to adapt as our needs evolve. The Essentials plan is more than sufficient for our monitoring pipeline, which uses:
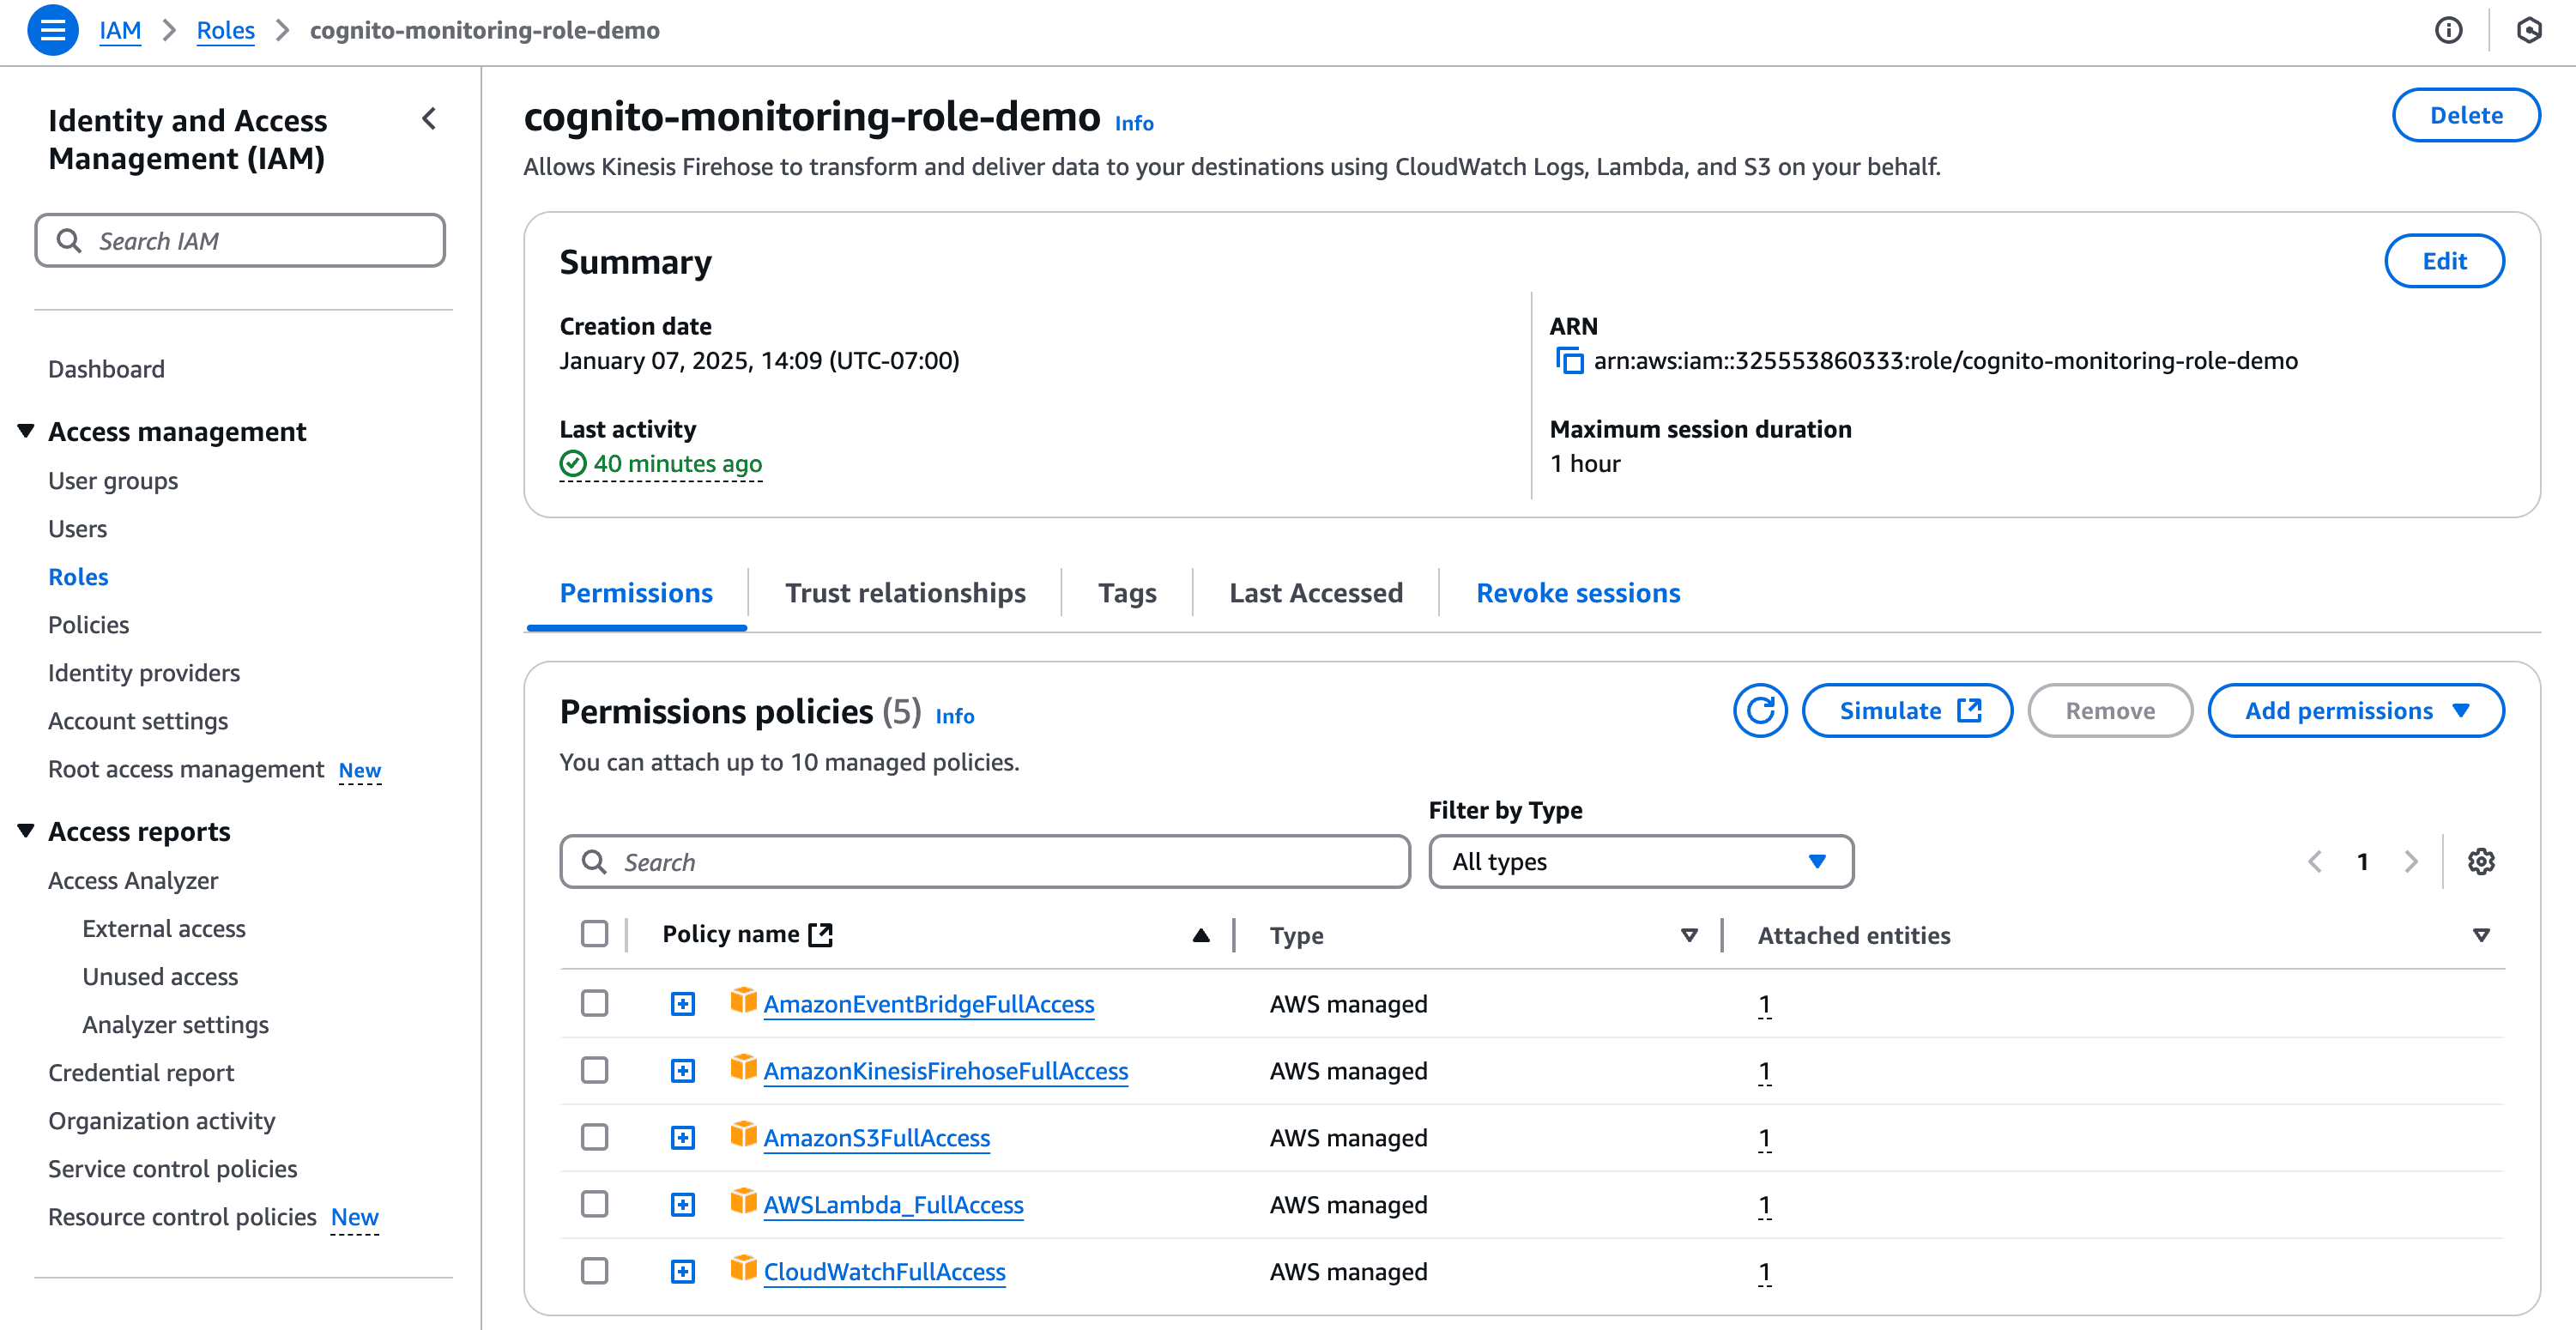
Note: While this guide uses broad AWS-managed policies for simplicity, it's considered best practice to:
For the purposes of this demo, we'll use a simplified approach with a single role:
{
    "Version": "2012-10-17",
    "Statement": [
        {
            "Effect": "Allow",
            "Principal": {
                "Service": [
                    "lambda.amazonaws.com",
                    "firehose.amazonaws.com",
                    "events.amazonaws.com"
                ]
            },
            "Action": "sts:AssumeRole"
        }
    ]
}
This single role will be used for Lambda, Firehose, and EventBridge to keep the demo straightforward.
Navigate to the AWS Lambda Console and create a new Lambda function,
cognitoAuthLogProcessor, to transform Cognito events into a format that's easy to analyze in OpenObserve:
import json
import base64
import gzip
from datetime import datetime

def transform_record(record_data):
    """Transform the record into OpenObserve format"""
    try:
        # Parse the event data
        if isinstance(record_data, str):
            record_data = json.loads(record_data)

        print(f"Processing record data: {json.dumps(record_data, indent=2)}")

        # Extract detail from the correct location
        detail = record_data.get('detail', {})
        if isinstance(detail, str):
            try:
                detail = json.loads(detail)
            except:
                print(f"Could not parse detail as JSON: {detail}")
                detail = {}

        # Extract additional event data
        additional_event_data = {}
        if isinstance(detail, dict) and 'additionalEventData' in detail:
            try:
                if isinstance(detail['additionalEventData'], str):
                    additional_event_data = json.loads(detail['additionalEventData'])
                else:
                    additional_event_data = detail['additionalEventData']
            except Exception as e:
                print(f"Error parsing additionalEventData: {e}")

        # Create event structure matching OpenObserve format
        transformed = {
            "_timestamp": int(datetime.utcnow().timestamp() * 1000000),
            "timestamp": datetime.utcnow().isoformat(),
            "stream": "cognito_events",
            "data_time": record_data.get('time', datetime.utcnow().isoformat()),
            "data_source": record_data.get('source', 'aws.cognito-idp'),
            "data_account": record_data.get('account', ''),
            "data_region": record_data.get('region', ''),
            "data_detail_eventname": detail.get('eventName', ''),
            "data_detail_eventsource": detail.get('eventSource', ''),
            "data_detail_sourceipaddress": detail.get('sourceIPAddress', ''),
            "data_detail_eventtime": detail.get('eventTime', ''),
            "data_detail_eventtype": detail.get('eventType', ''),
            "data_detail_awsregion": detail.get('awsRegion', ''),
            "data_detail_useridentity": json.dumps(detail.get('userIdentity', {})),
            "data_detail_additionaleventdata": json.dumps(additional_event_data),
            "metadata_source": "cognito",
            "metadata_type": "auth_event"
        }

        print(f"Transformed record: {json.dumps(transformed, indent=2)}")
        return transformed
    except Exception as e:
        print(f"Error transforming record: {str(e)}")
        print(f"Original record_data: {json.dumps(record_data, indent=2)}")
        return None

def lambda_handler(event, context):
    print(f"Received event: {json.dumps(event, indent=2)}")
    output_records = []

    for record in event['records']:
        try:
            # Decode the incoming data
            data = base64.b64decode(record['data'])
            print(f"Decoded base64 data: {data}")

            # Handle potential GZIP compression
            try:
                data = gzip.decompress(data)
                print(f"Decompressed data: {data}")
            except:
                print("Data was not gzipped")

            # Ensure data is string
            if isinstance(data, bytes):
                data = data.decode('utf-8')

            # Parse and transform the data
            parsed_data = json.loads(data)
            print(f"Parsed data: {json.dumps(parsed_data, indent=2)}")

            transformed_data = transform_record(parsed_data)

            if transformed_data:
                # Convert to newline-delimited JSON as expected by OpenObserve
                output_data = json.dumps(transformed_data) + "\n"
                output_record = {
                    'recordId': record['recordId'],
                    'result': 'Ok',
                    'data': base64.b64encode(output_data.encode('utf-8')).decode('utf-8')
                }
                print(f"Successfully transformed record: {json.dumps(output_record)}")
            else:
                print(f"Transform returned None for record ID: {record['recordId']}")
                output_record = {
                    'recordId': record['recordId'],
                    'result': 'ProcessingFailed',
                    'data': record['data']
                }

        except Exception as e:
            print(f"Error processing record: {str(e)}")
            print(f"Failed record: {json.dumps(record)}")
            output_record = {
                'recordId': record['recordId'],
                'result': 'ProcessingFailed',
                'data': record['data']
            }

        output_records.append(output_record)

    result = {'records': output_records}
    print(f"Final output: {json.dumps(result, indent=2)}")
    return result
Set the Lambda timeout to 1 minute (or more as needed), and set the memory to 128 MB (increase if needed). Deploy the Lambda function.
Here's what the Lambda function will look like once created:
Next, we will configure Firehose to use this Lambda function for record transformation.
First, retrieve the necessary information from OpenObserve by following these steps:
Next, navigate to Amazon Data Firehose in the AWS Console:
https://api.openobserve.ai/aws/YOUR-ORG-ID/**CUSTOM-STREAM-NAME**/_kinesis_firehose )Once configured, the Firehose stream will look like this:
{
  "source": ["aws.cognito-idp"]
}
Here's what the Eventbridge rule will look like after set-up:
Generate some authentication events:
You should soon be able to see logs flowing into OpenObserve.
With logs flowing into OpenObserve, you can start analyzing them immediately. To get started:
Now that our authentication events are flowing into OpenObserve, let's create a comprehensive monitoring dashboard. This dashboard will help you visualize authentication patterns, detect security issues, and track user engagement.
By following this guide, you've successfully set up a robust monitoring system for AWS Cognito authentication events using OpenObserve. This setup not only enhances your ability to track user interactions and detect security threats but also empowers you to optimize user experiences and maintain compliance with ease.
With your logs now streaming into OpenObserve, you can take advantage of its powerful visualization and alerting capabilities. Here are some recommended next steps to maximize the value of your monitoring system:
OpenObserve's intuitive interface makes it easy to search, visualize, and act on your log data, whether you're troubleshooting issues or optimizing performance. By leveraging this guide, you've built a flexible, real-time monitoring solution that provides valuable insights into your authentication system's performance and security.
If you have any questions or need help, feel free to join our Slack community or reach out directly. We're here to help you make the most of your monitoring setup!
Nitya is a Developer Advocate at OpenObserve, with a diverse background in software development, technical consulting, and organizational leadership. Nitya is passionate about open-source technology, accessibility, and sustainable innovation.