Ingesting Data from Cribl to OpenObserve: A Complete Guide

Chaitanya Sistla
March 01, 2025
4 min read
Don’t forget to share!
Try OpenObserve Cloud today for more efficient and performant observability.
Cribl (https://cribl.io/) is a data engine designed to optimize and manage the flow of observability and security data. It provides users with the ability to:
OpenObserve is an open-source, high-performance observability platform designed for real-time log and trace analytics. Unlike traditional log storage solutions, OpenObserve provides:
By integrating Cribl with OpenObserve, organizations can efficiently route, filter, and analyze logs and traces in a cost-effective manner.
In this guide, we will explore how to integrate Cribl with OpenObserve to seamlessly ingest and monitor logs and traces. The tutorial will cover:
The following steps outline the integration process:
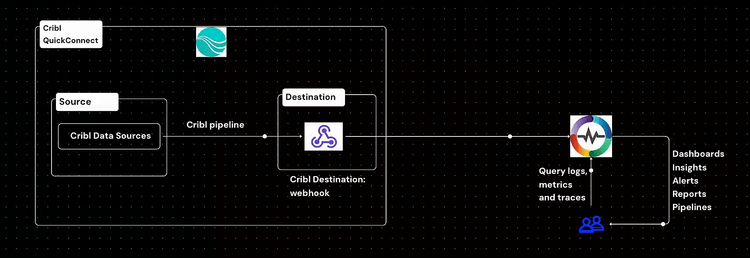
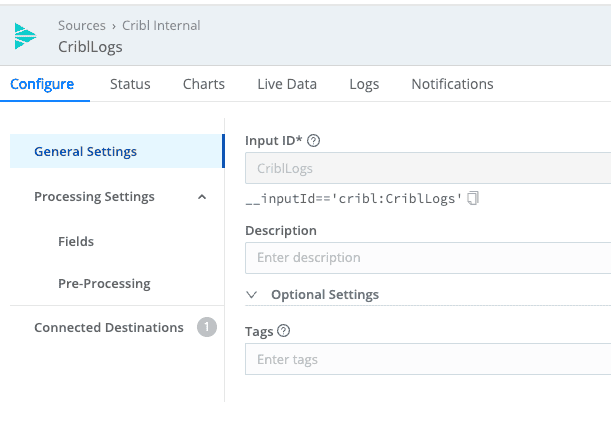
To get started with Cribl, we need to create an internal data source that generates test logs for forwarding to OpenObserve.
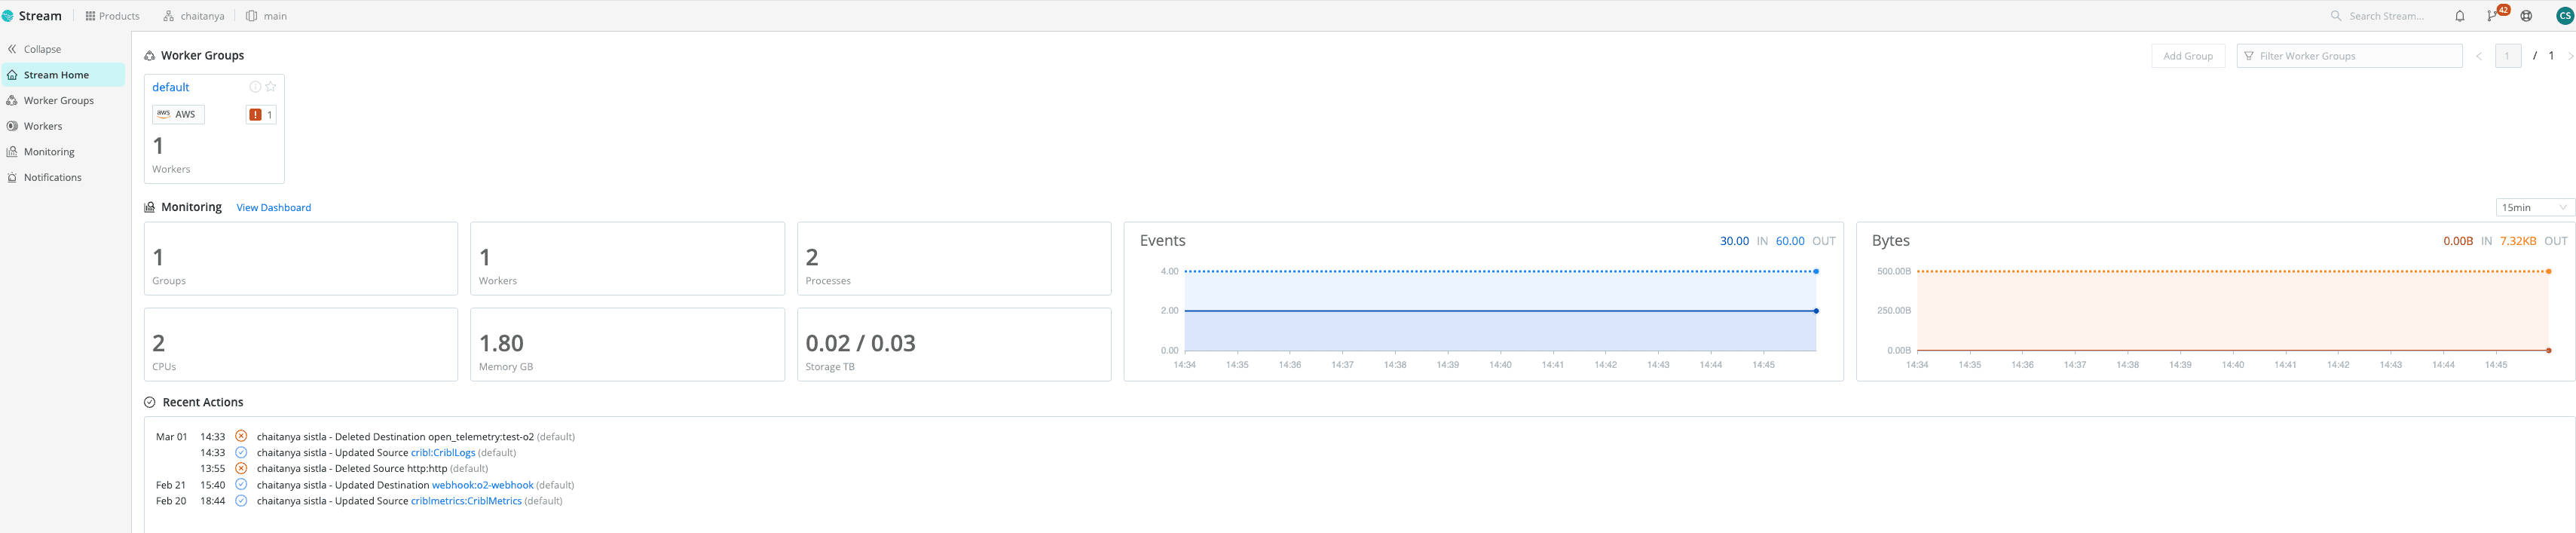
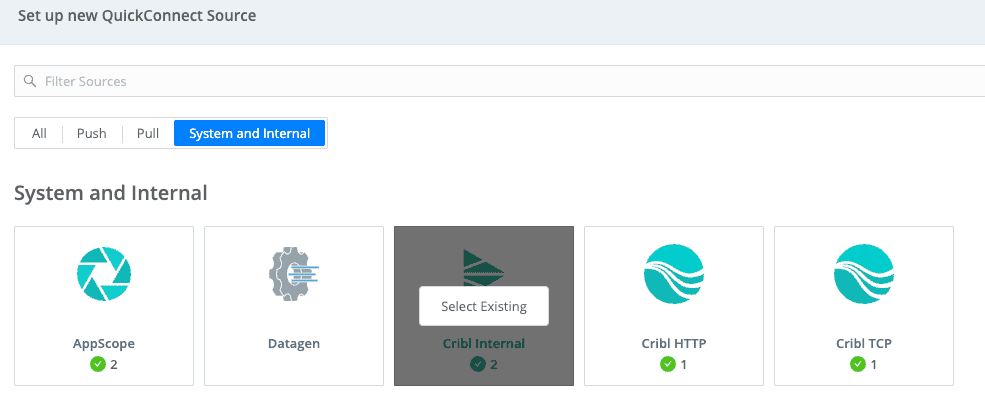
Once this is set up, Cribl will begin generating test logs for processing.
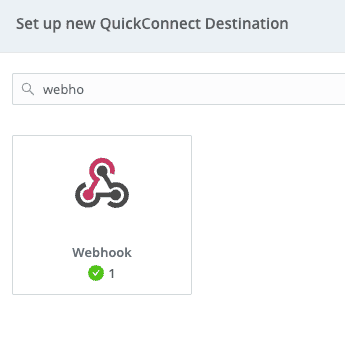
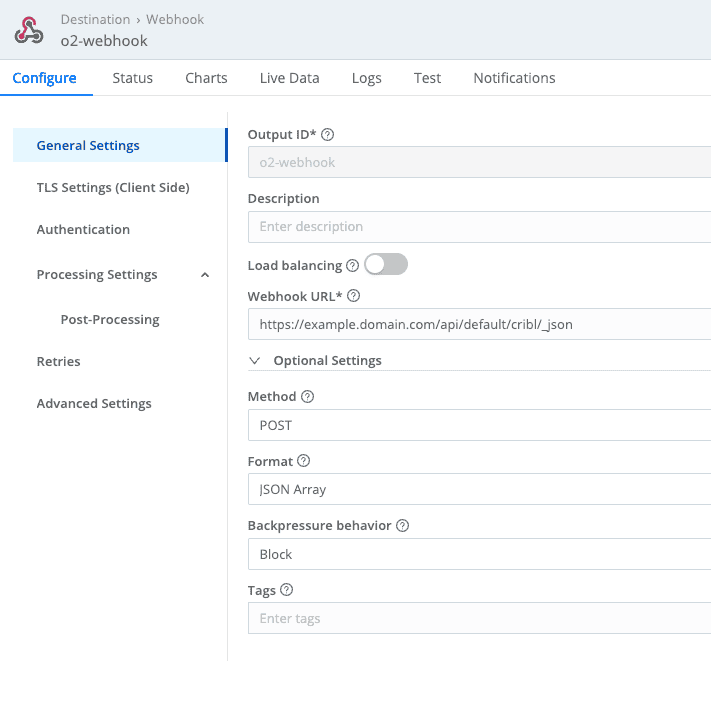
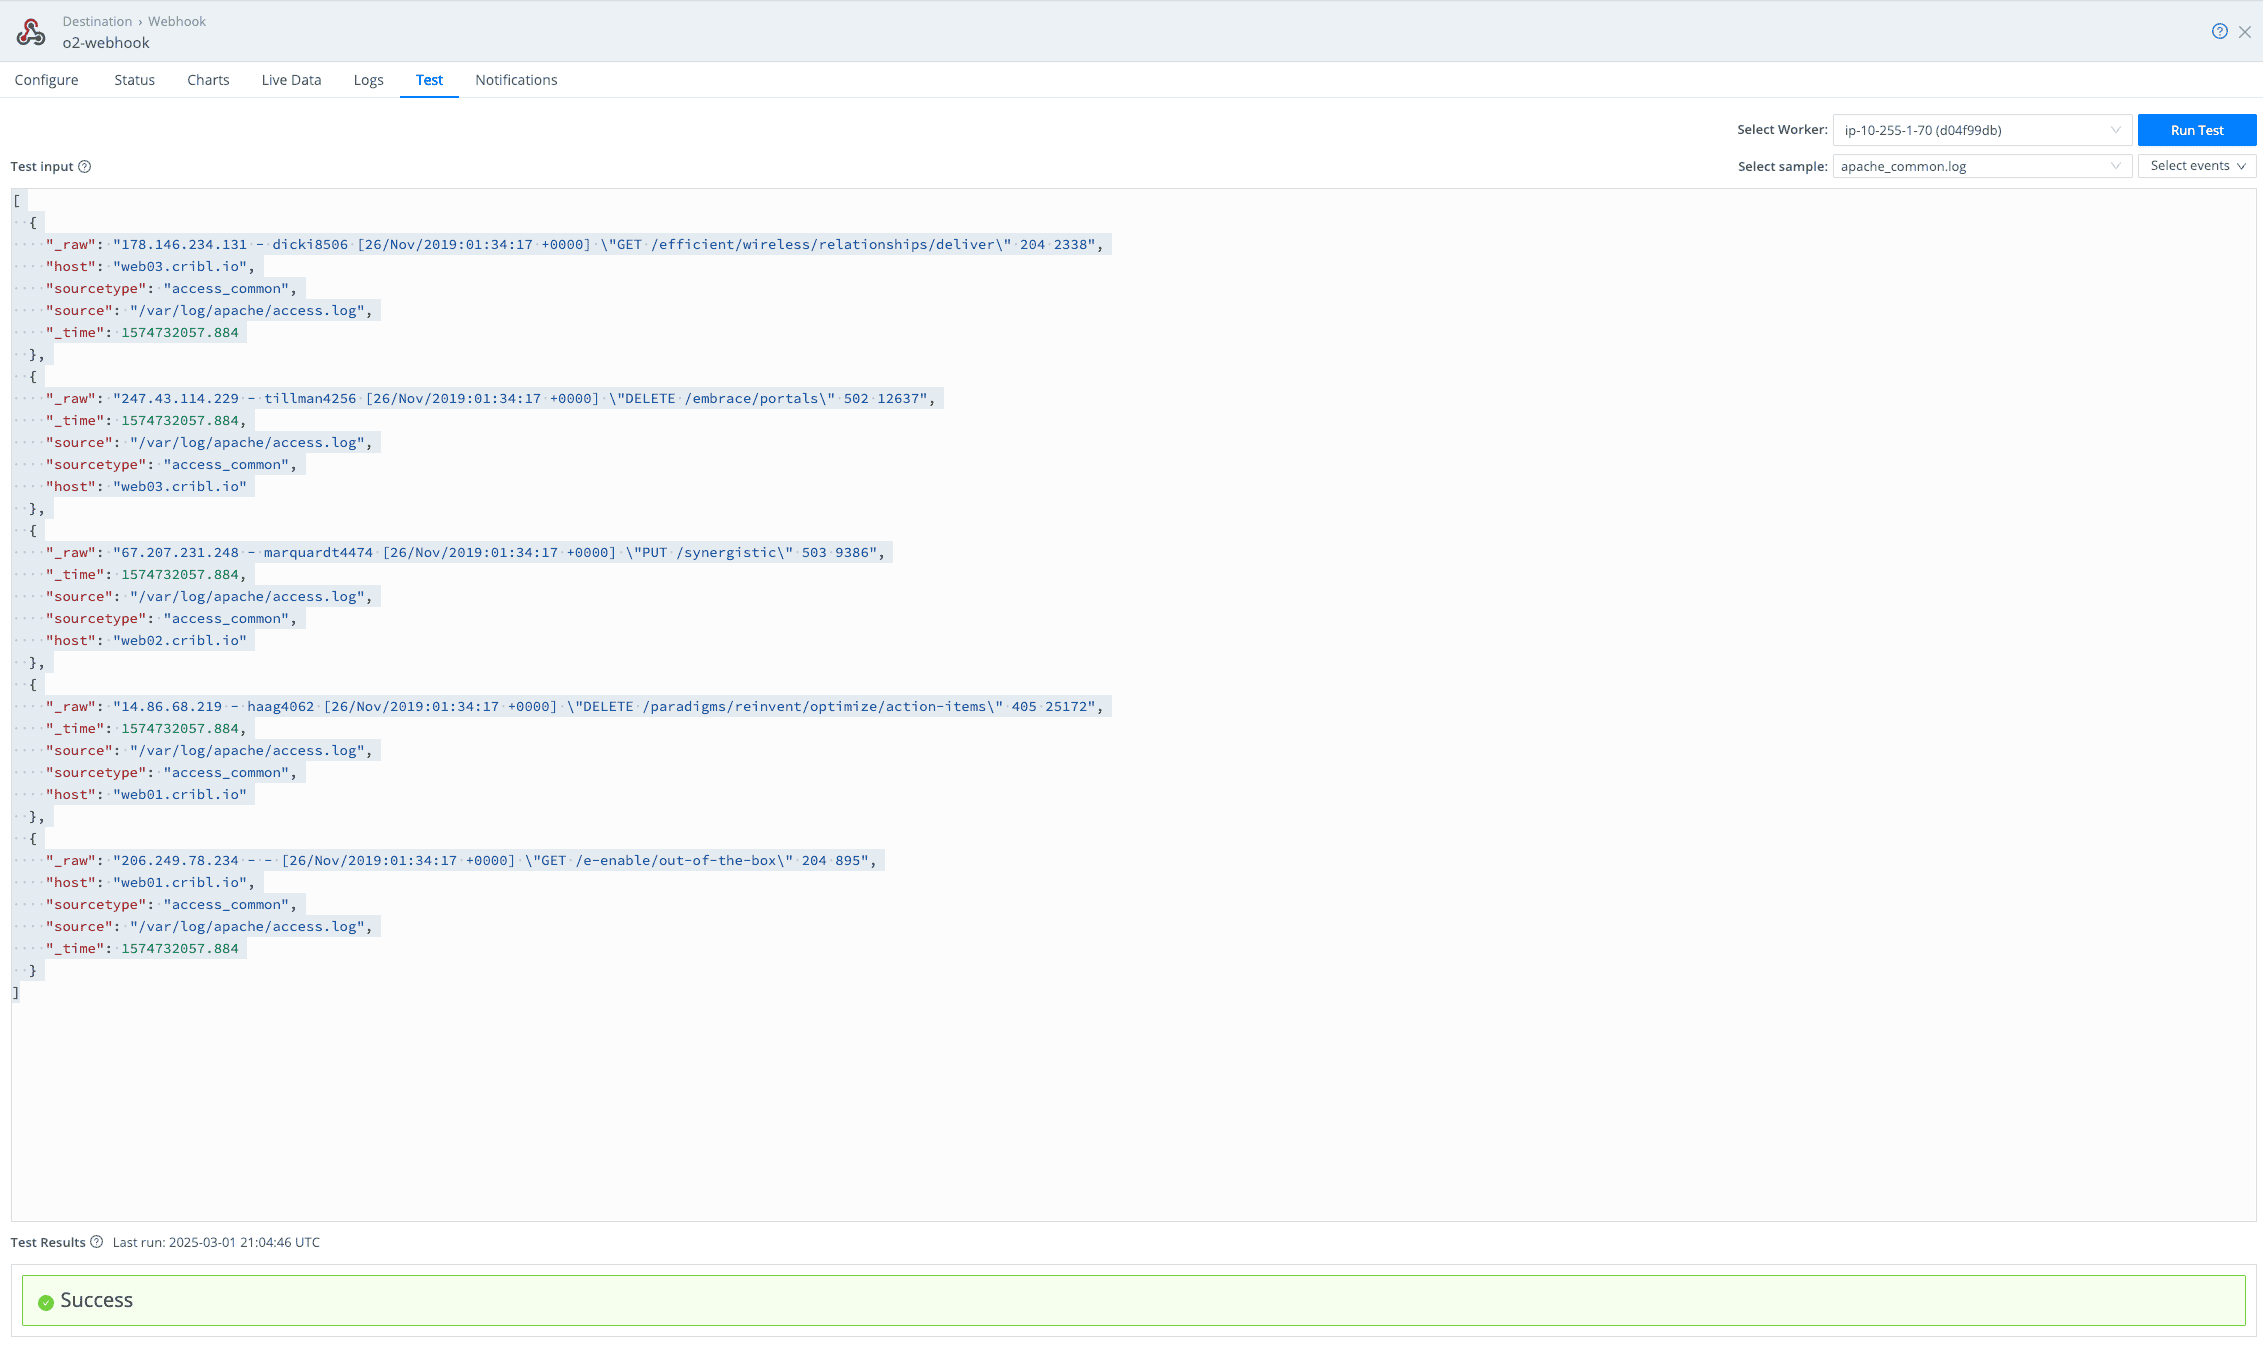
Now, we configure Cribl to send data to OpenObserve via a webhook.
http://<openobserve-server>/api/default/cribl/_json

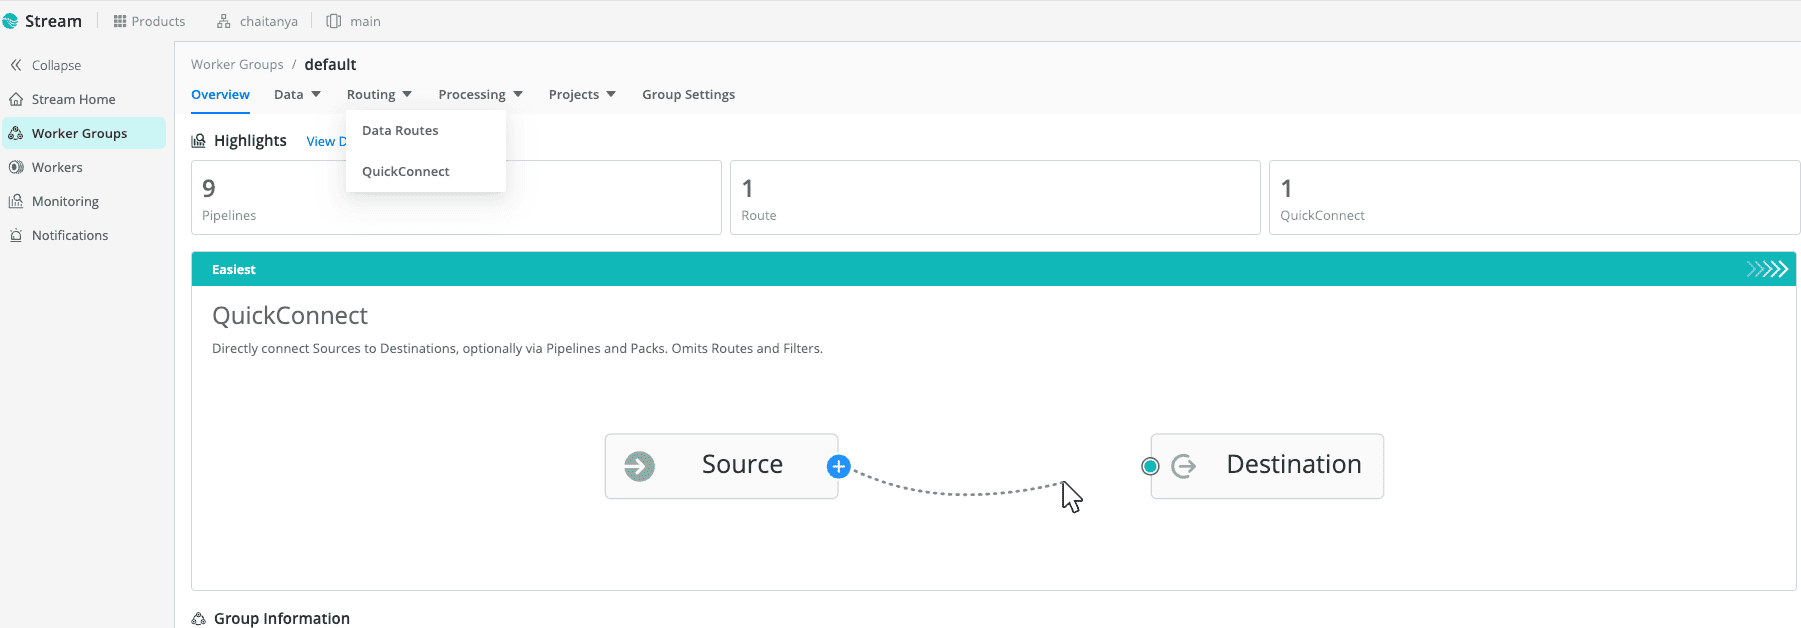
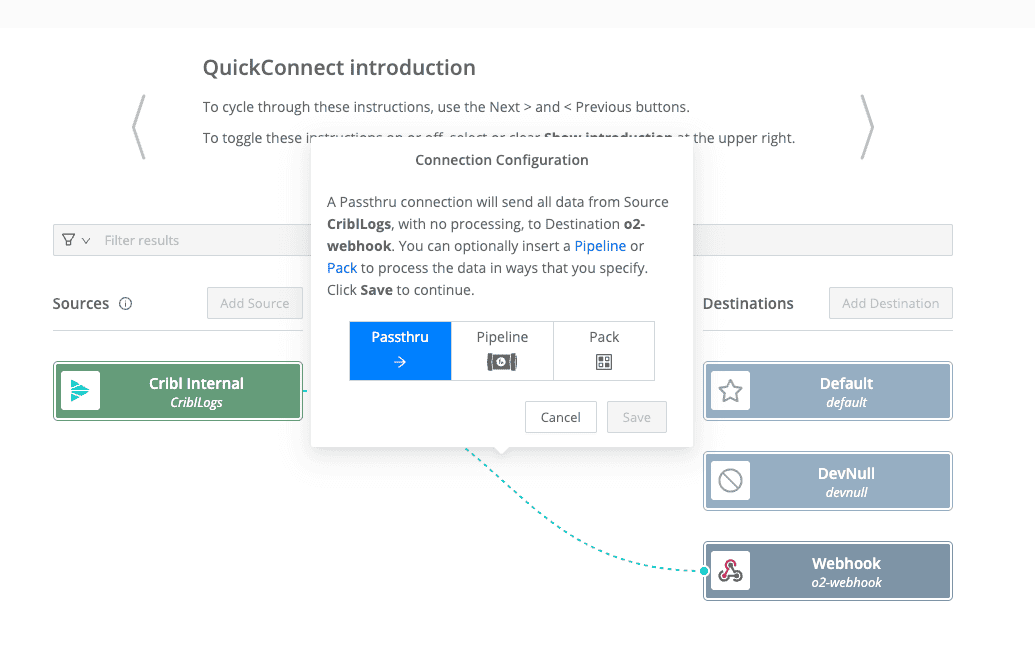
Now that we have both an internal source and a webhook destination, we need to create a route that connects them.
You can connect the source and destination via Passthru and save the connection which is ready to send the logs. You can test this by generating sample logs in the webhook section and you should see a successful message if all the configurations were successful.
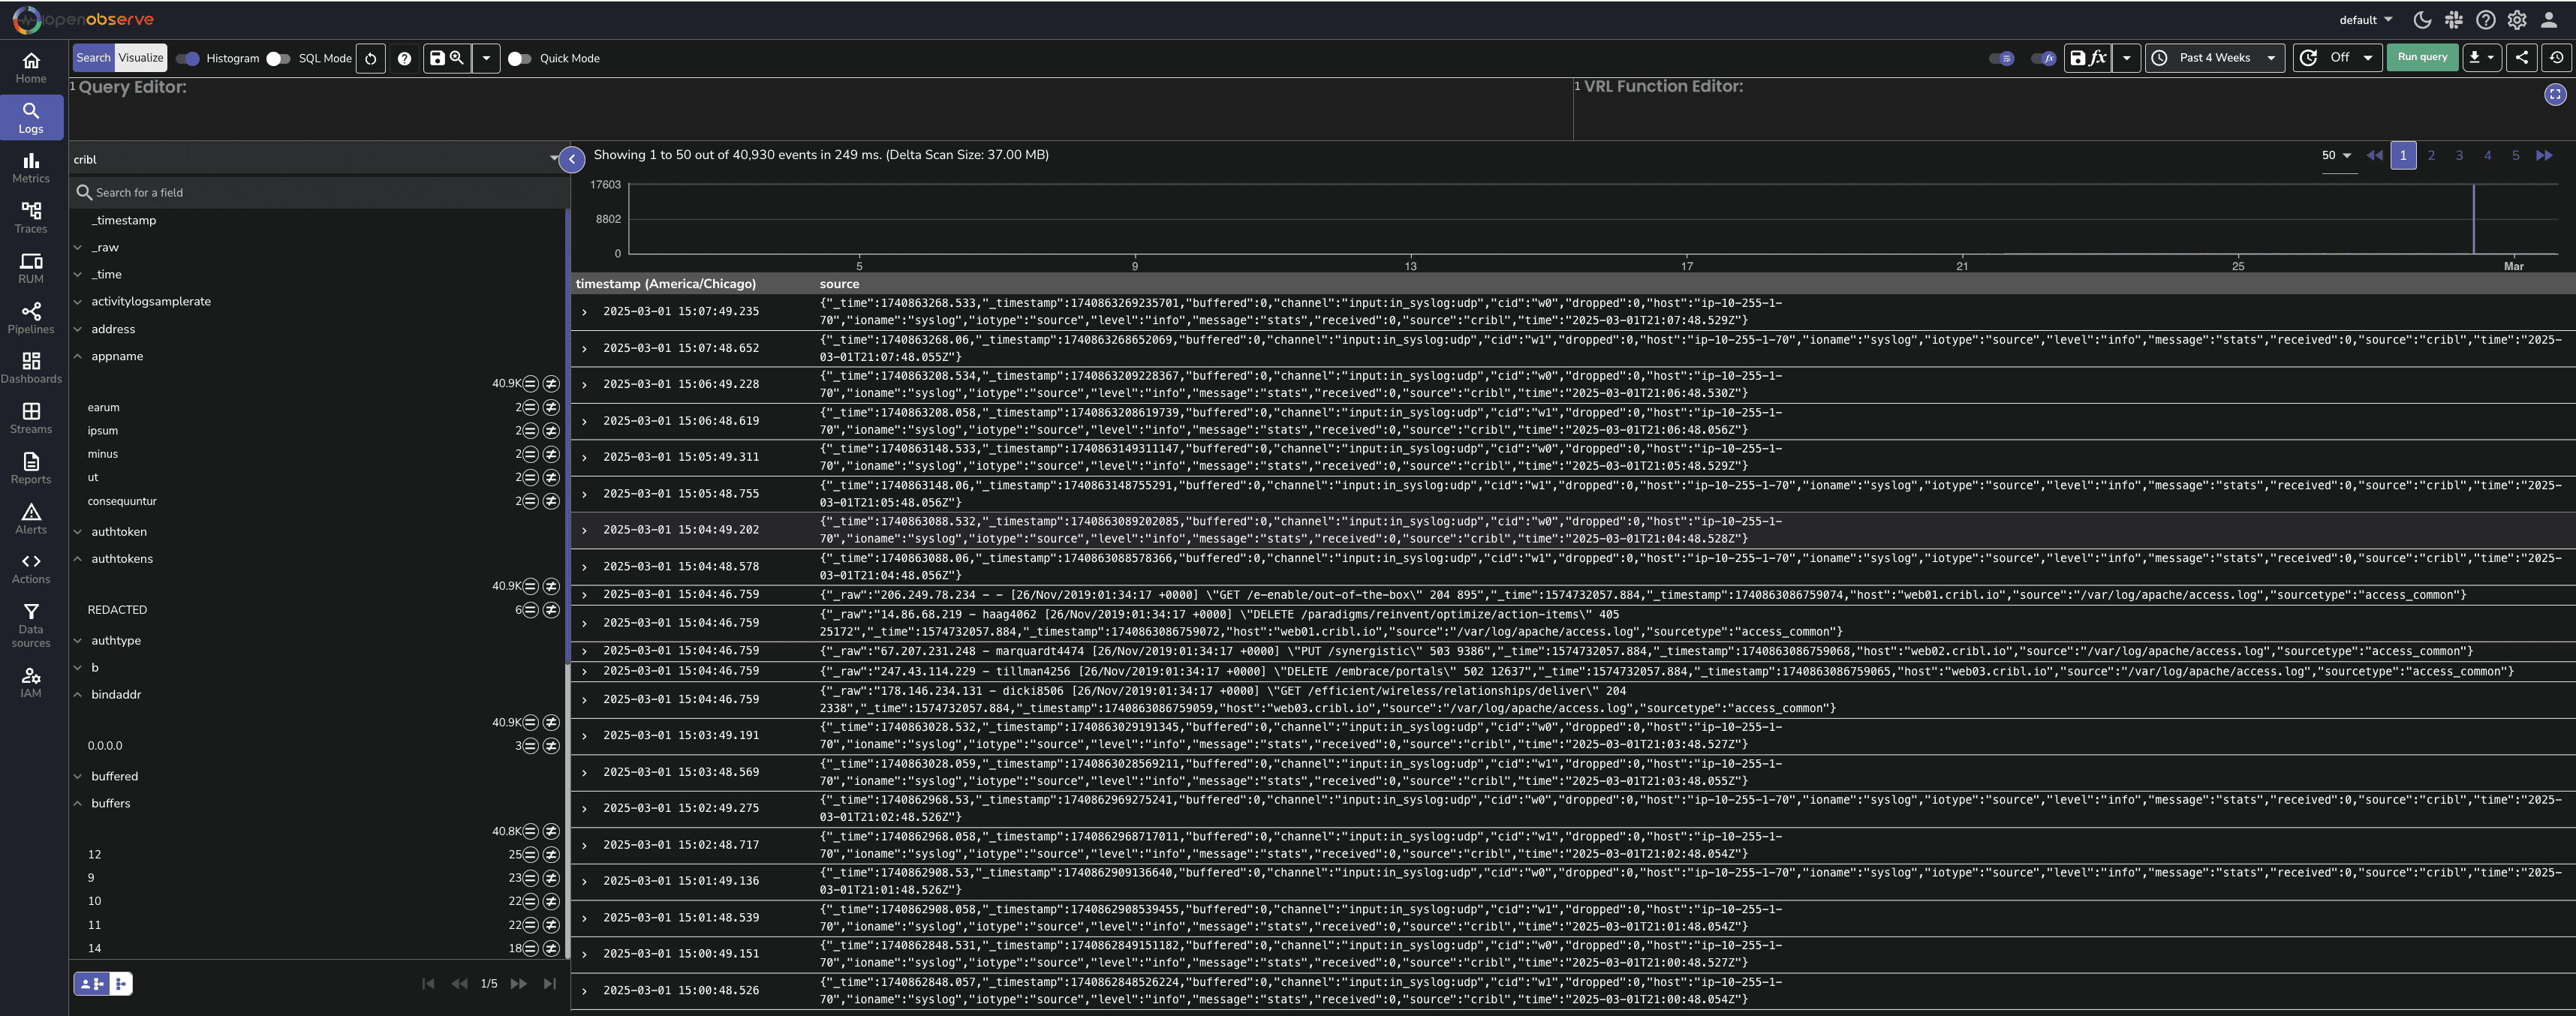
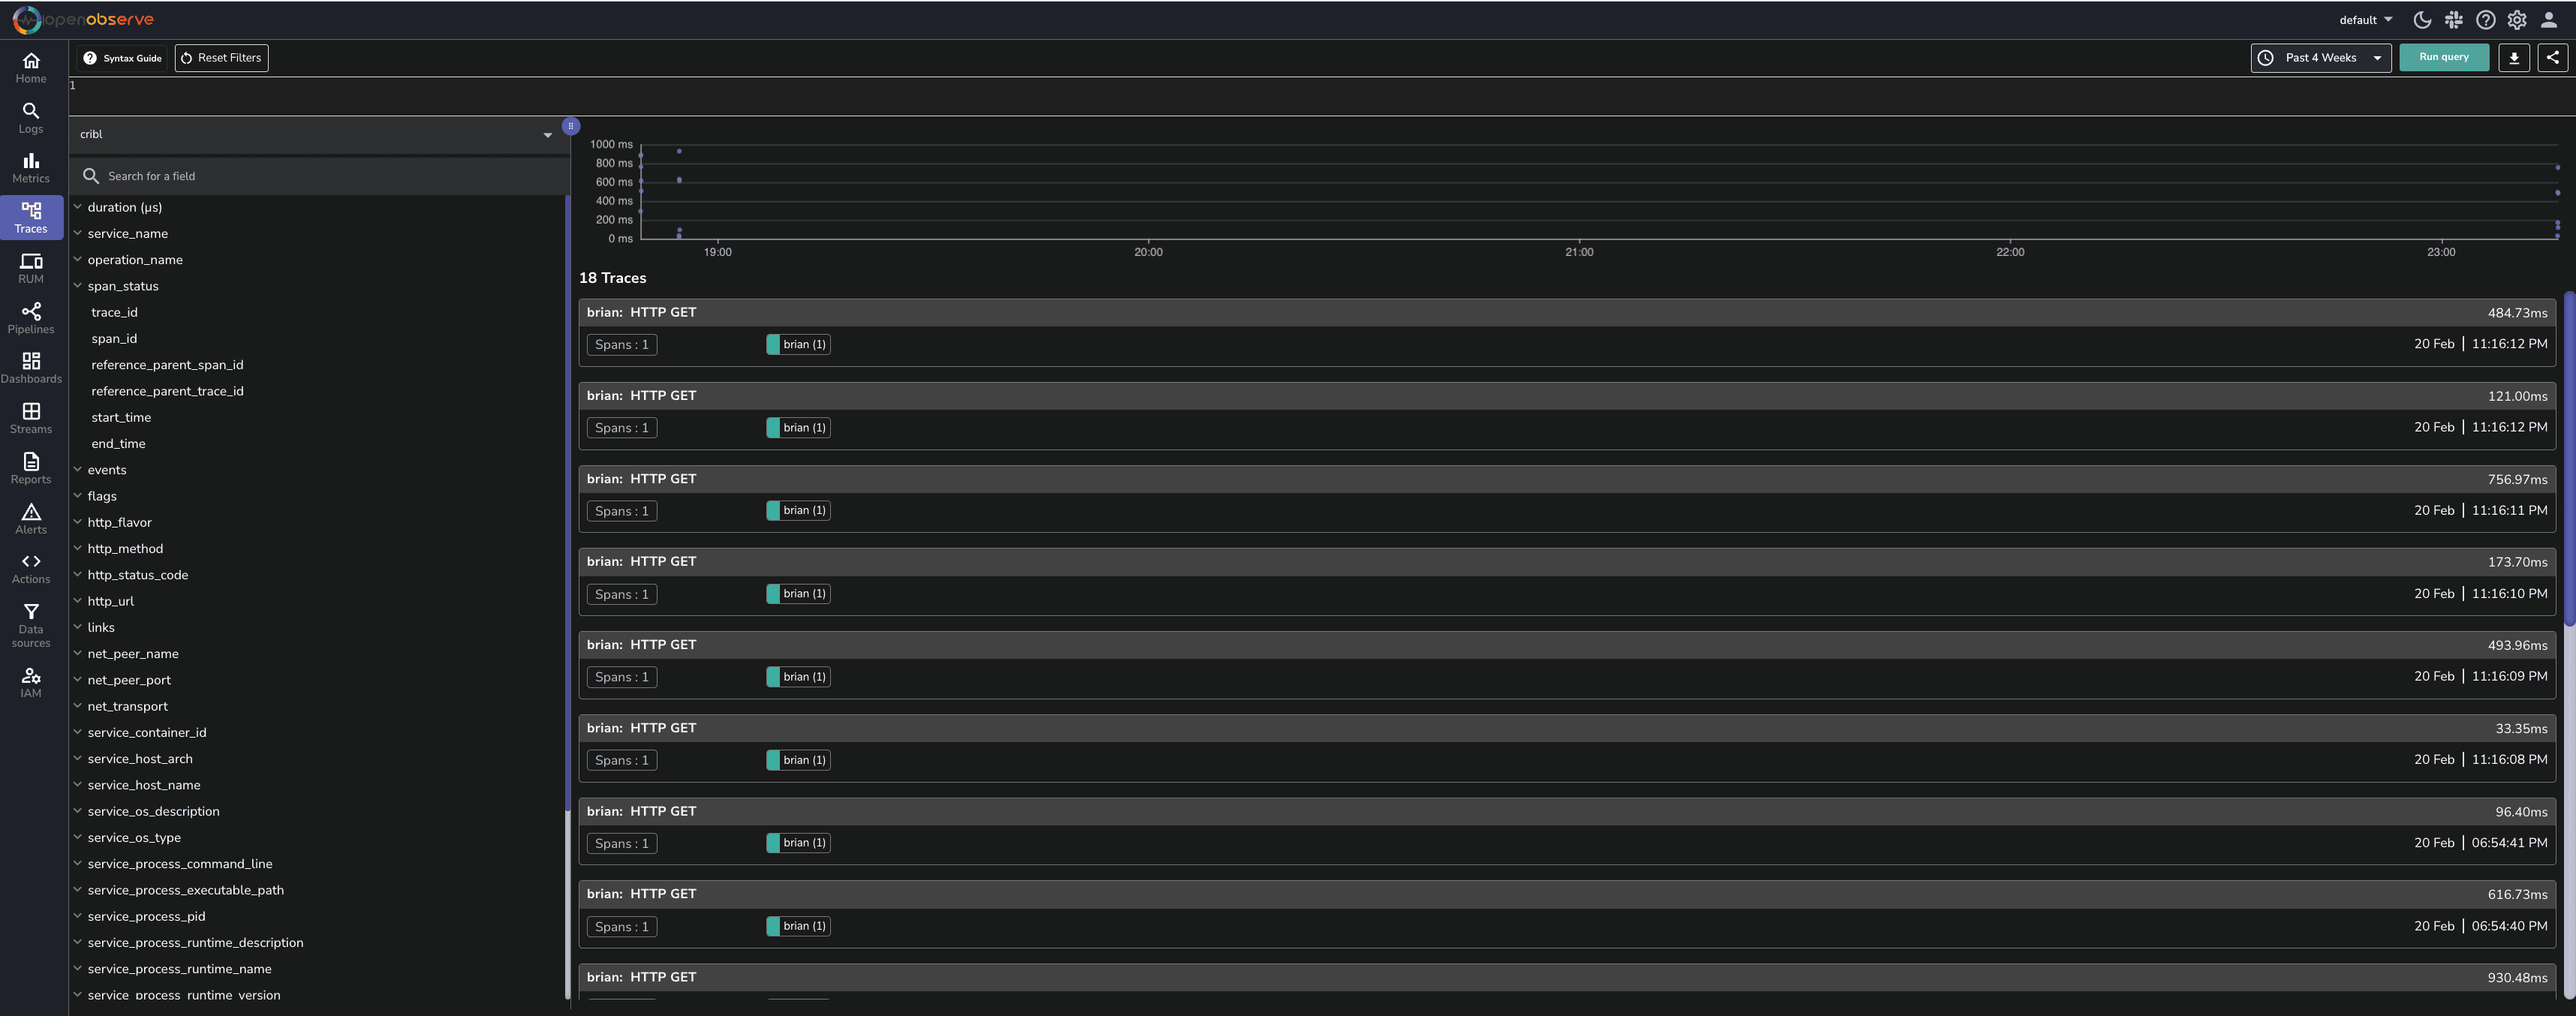
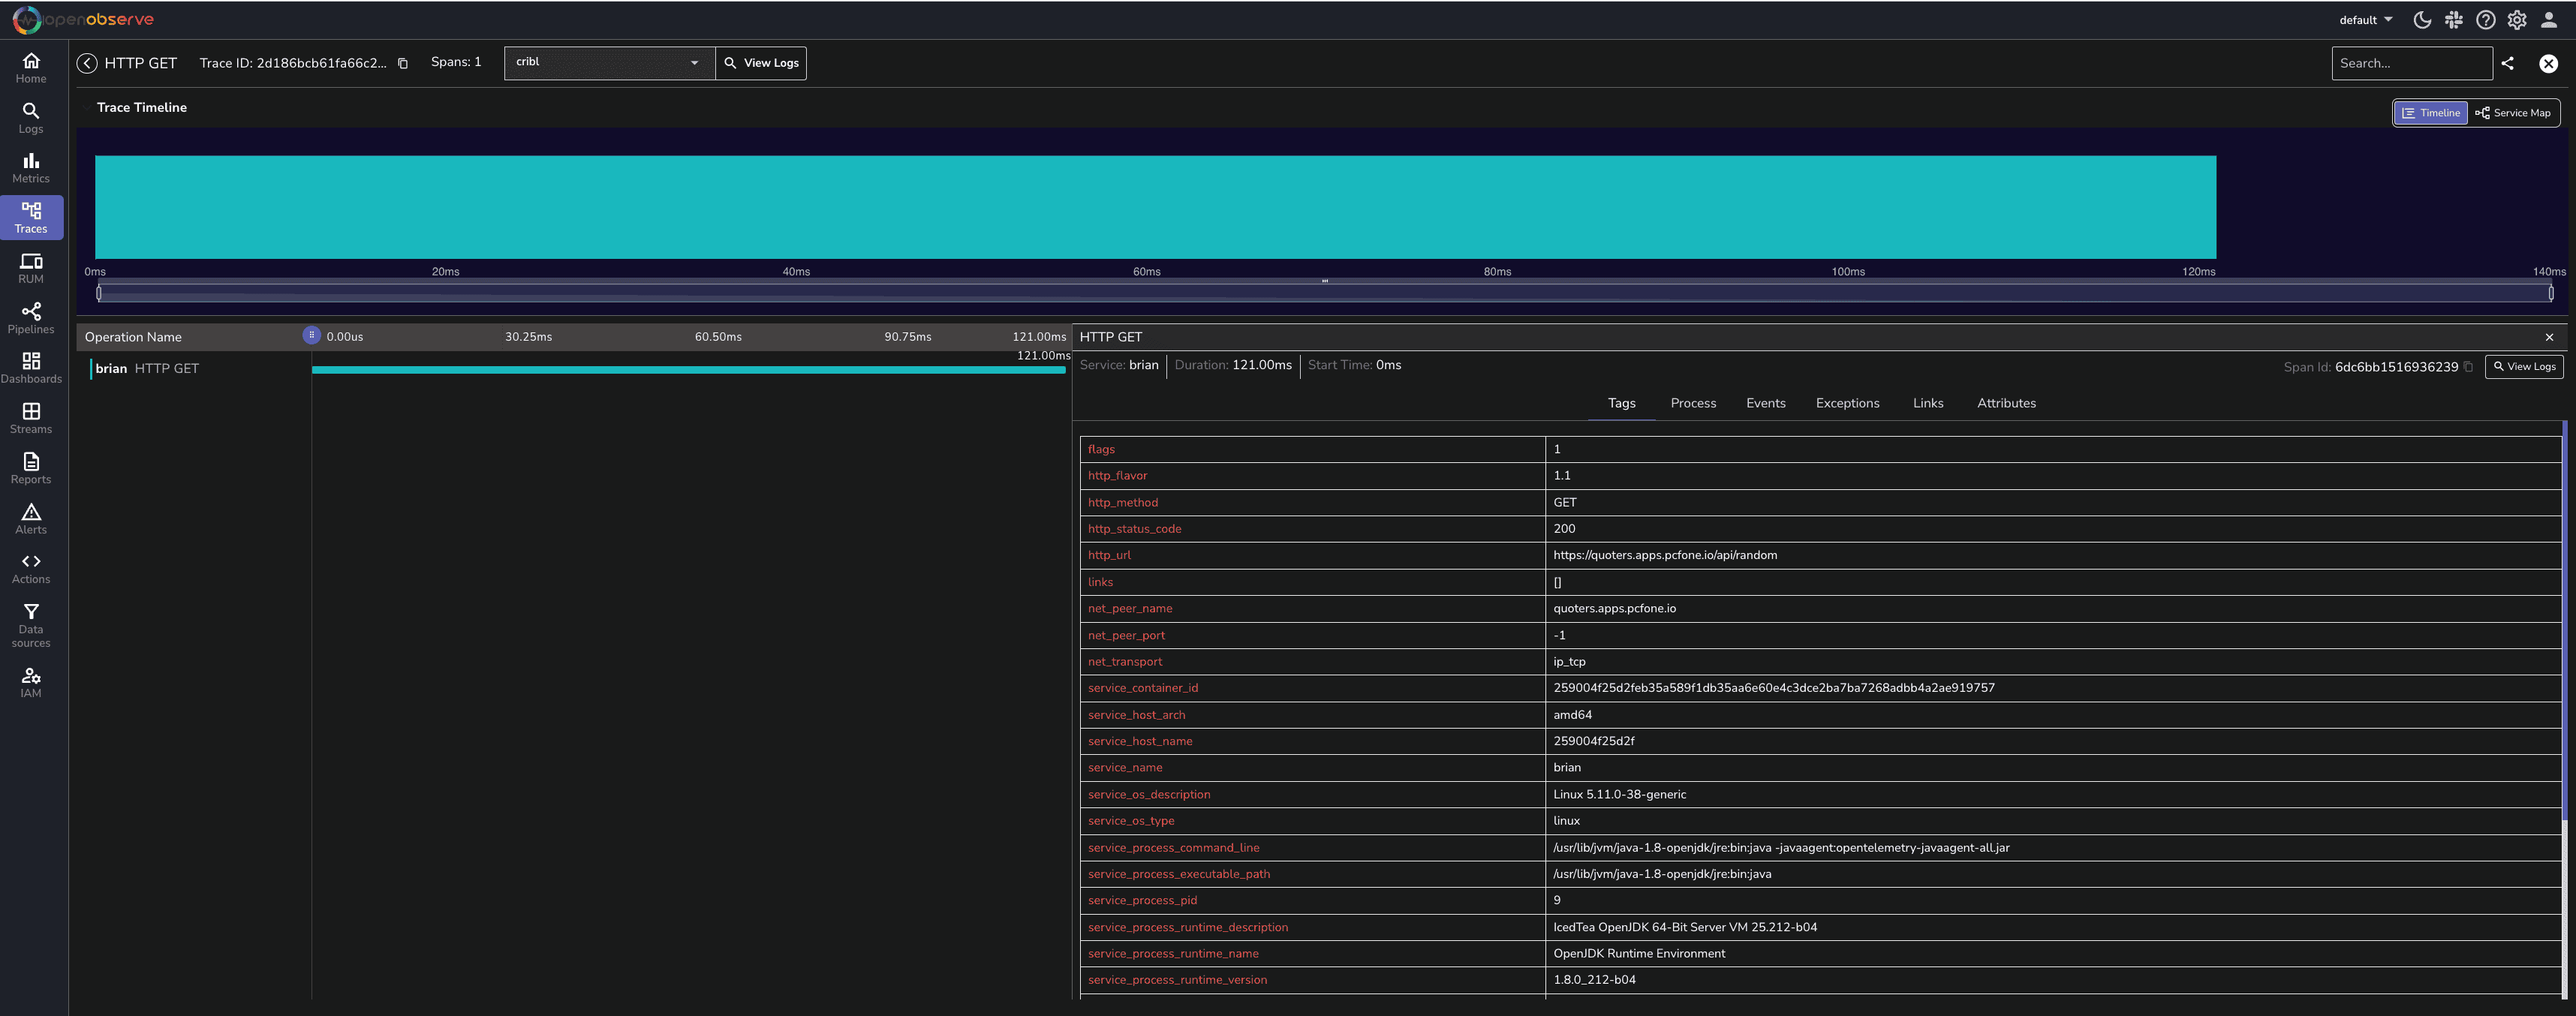
After sending data from Cribl, we can now analyze it in OpenObserve.
By integrating Cribl with OpenObserve, organizations can streamline log and trace ingestion while reducing costs and improving analytics. Cribl provides powerful data processing and optimization capabilities, while OpenObserve offers scalable storage, visualization, and alerting features.
With this setup:
Happy monitoring! 🚀
Chaitanya Sistla is a Principal Solutions Architect with 17X certifications across Cloud, Data, DevOps, and Cybersecurity. Leveraging extensive startup experience and a focus on MLOps, Chaitanya excels at designing scalable, innovative solutions that drive operational excellence and business transformation.