Harnessing the Power of FluentBit to Stream Kubernetes Logs to OpenObserve!

Prabhat Sharma
June 04, 2023
4 min read
Don’t forget to share!
Try OpenObserve Cloud today for more efficient and performant observability.
In this blog, we are going to explore the process of sending logs from Kubernetes to OpenObserve using FluentBit.
Before we get started, ensure you have the following:
Fluentbit is a lightweight and open-source log forwarder for Kubernetes. It is designed to be fast and efficient, and it is a Cloud Native Computing Foundation (CNCF) project. FluentBit is also a part of the Fluentd ecosystem, which is a popular open-source log collector.
It works by tailing the files that contain the logs you want to forward. It then parses the logs and sends them to the destination you specify. FluentBit can also enrich your logs with additional metadata, such as the Kubernetes pod name, pod ID, and container name.
So which file should you tail? Kubernetes stores container logs in the /var/log/containers directory. Each container has its own log file, and the log file name is in the following format: <pod-name>_<namespace>_<container-name>_<container-id>.log. You will not need to do this configuration as part of this blog as we will be using a helm chart to install fluentbit which will take care of this for us.
We will install fluentbit using helm chart.
helm repo add fluent https://fluent.github.io/helm-charts
helm repo update
helm upgrade --install fluent-bit fluent/fluent-bit --namespace fluent-bit --create-namespace
This will install FluentBit as a daemonset(A daemonset ensures that one and only one pod runs on every node of the cluster.) and create the necessary service accounts, roles, and configuration needed to run FluentBit on your cluster. Default values in the chart will enrich the logs with additional metadata, such as the Kubernetes pod name, pod ID, and container name.
You can also look at the official FluentBit documentation for more information on how to install FluentBit on Kubernetes or Openshift
Once FluentBit is installed and running on your Kubernetes cluster, the next step is to configure FluentBit to send logs to OpenObserve. OpenObserve supports an HTTP endpoint, and FluentBit has an HTTP output plugin which we can use for this purpose.
To do this, you'll need to modify the FluentBit ConfigMap, specifically the OUTPUT section, to include the HTTP output plugin and the OpenObserve endpoint details.
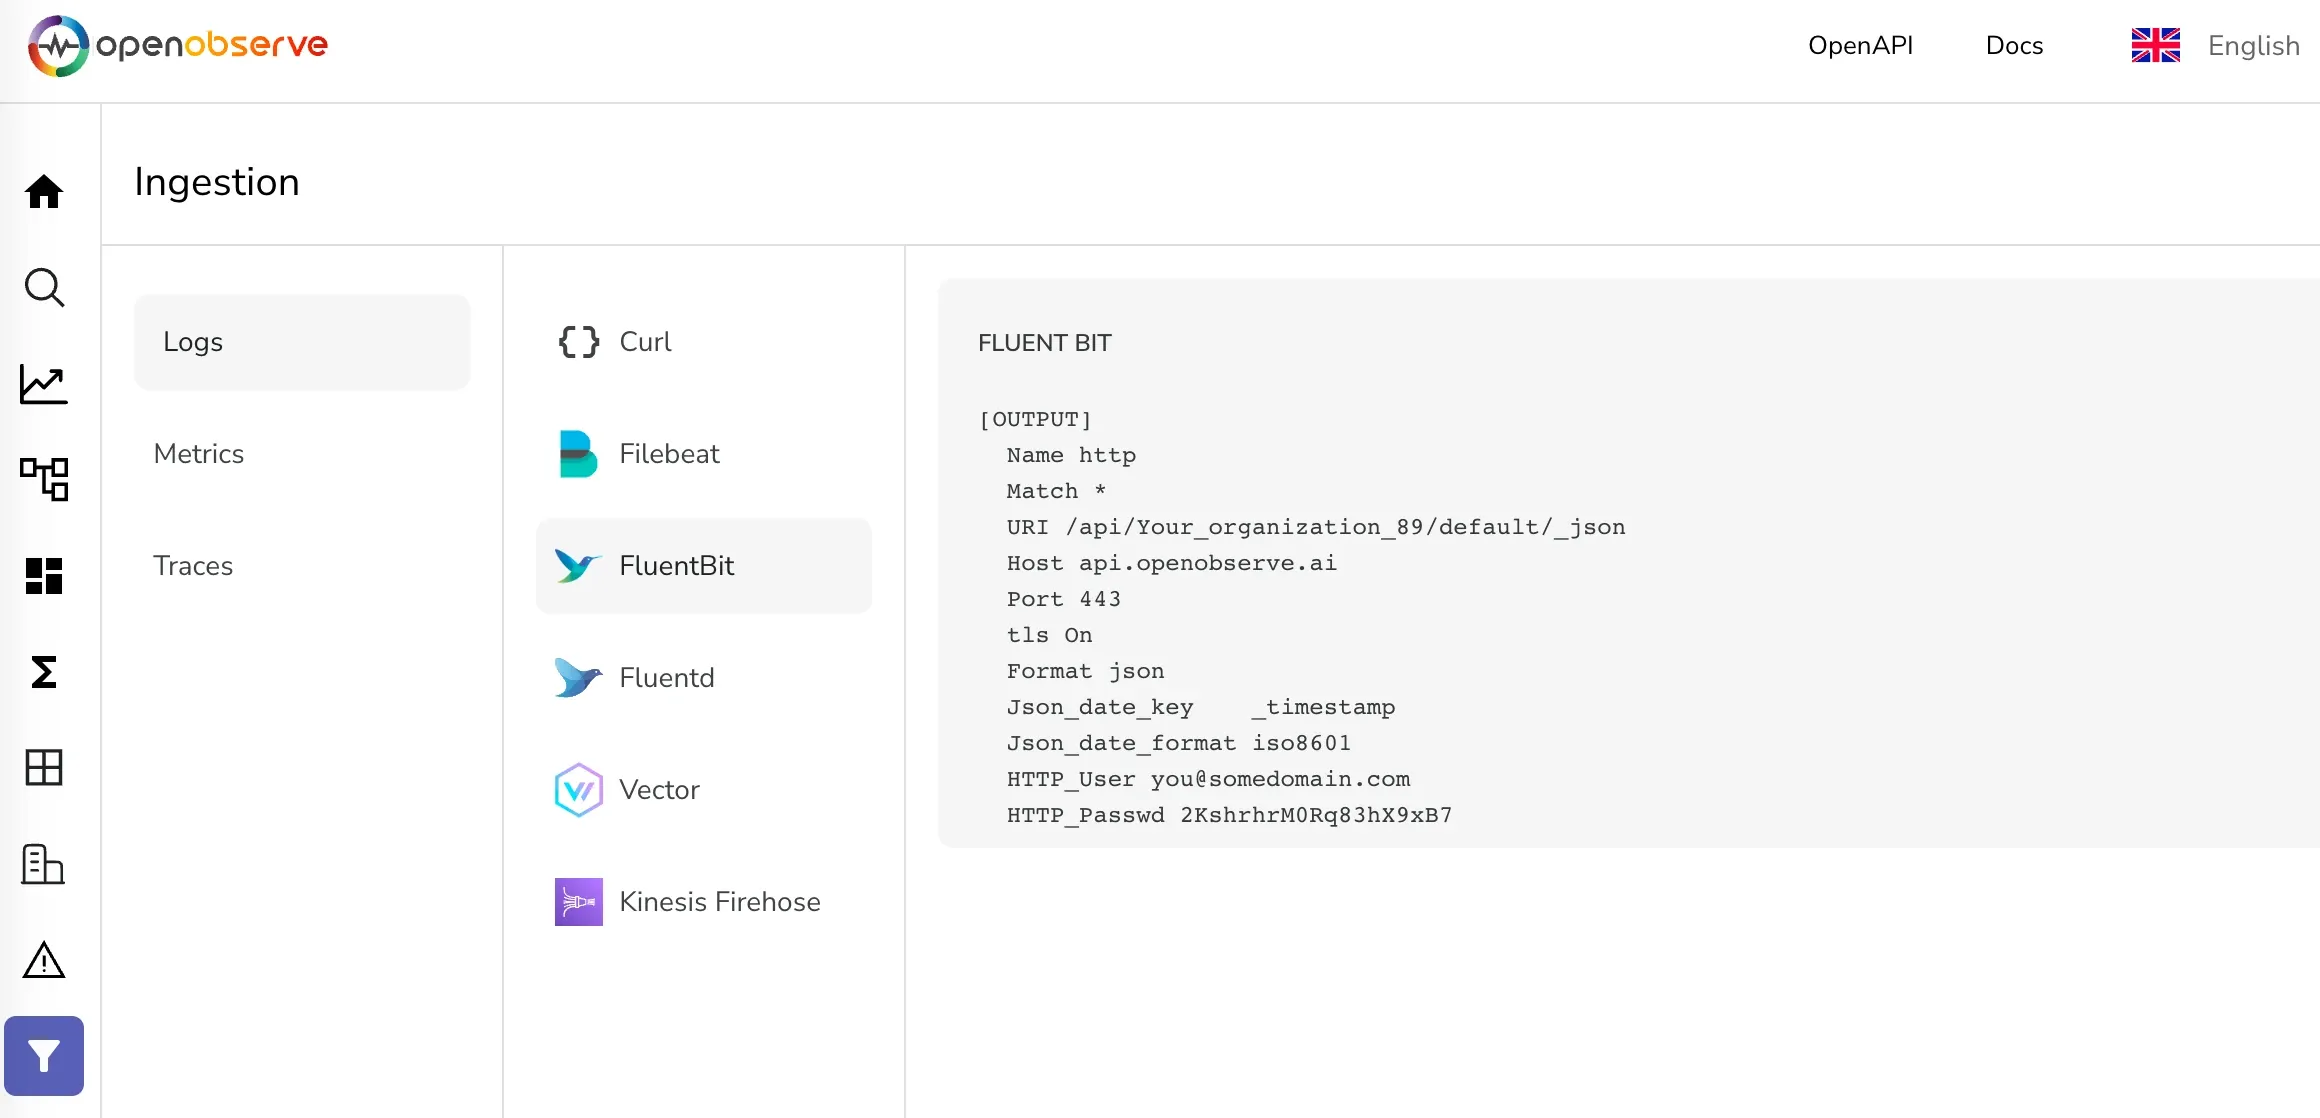
Let's get the required config first. Head over to OpenObserve UI > Ingestion > Logs > Fluentbit and copy the configuration from there.
Now let's get the default configmap for fluentbit that is part of the installation.
kubectl -n fluent-bit get configmap fluent-bit -o yaml > fluent-bit.yaml
This will create a file called fluent-bit.yaml in your current directory. Open this file in your favorite editor and you will find two sections, for OUTPUT. Paste the configuration that you got from OpenObserve UI in the fluent-bit.yaml file replacing 2 existing OUTPUT sections. It should look something like this:
[OUTPUT]
  Name http
  Match *
  URI /api/<your org/default/_json - replace this with your org and stream name. Format is /api/<org>/<stream>/_json
  Host api.openobserve.ai
  Port 443
  tls On
  Format json
  Json_date_key    _timestamp
  Json_date_format iso8601
  HTTP_User you@yourdomain.com - replace this with your email
  HTTP_Passwd <your password>
This gets your configuration ready. Now we need to update the configmap in the cluster.
Once you have updated the FluentBit ConfigMap, you can apply the changes by running:
kubectl apply -f fluent-bit.yaml
One last step is to restart the FluentBit pods so that they pick up the new configuration. You can do this by deleting the FluentBit pods which will be automatically recreated with the new configuration:
kubectl delete pods -n fluent-bit -l app.kubernetes.io/name=fluent-bit
You should see an output similar to the following:
pod "fluent-bit-7smkw" deleted
pod "fluent-bit-sn4rg" deleted
pod "fluent-bit-w98j8" deleted
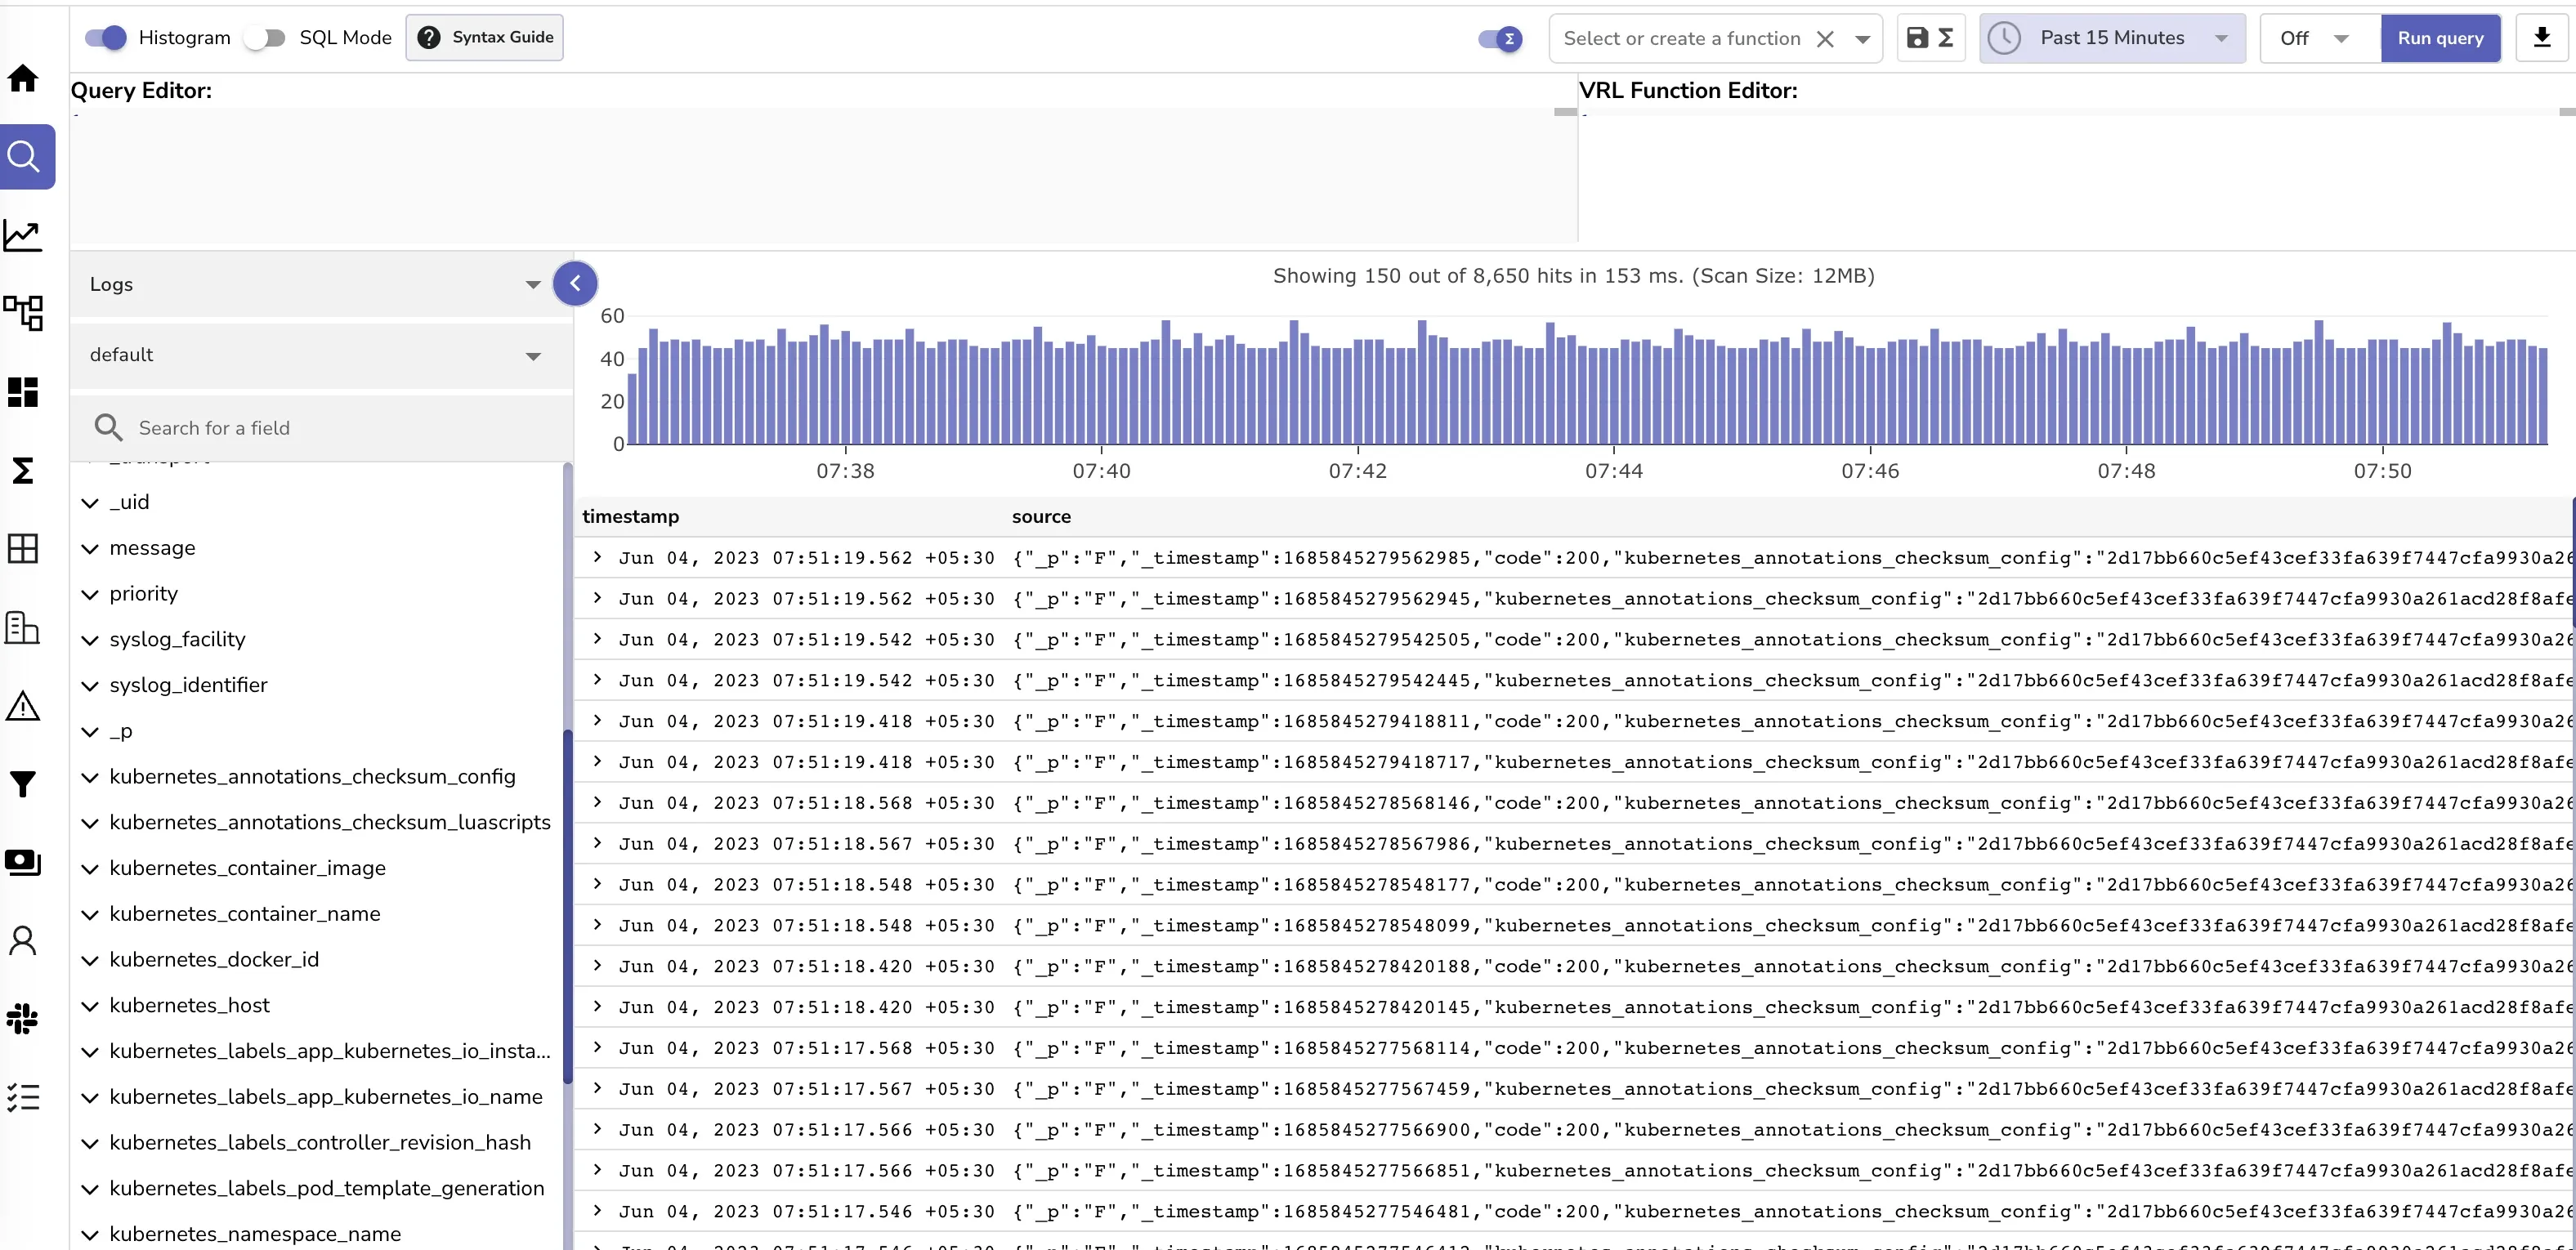
FluentBit should now begin to forward logs from your Kubernetes cluster to the OpenObserve endpoint you specified. You can then use OpenObserve UI to view and analyze your logs. This will provide you with insights to improve the observability of your Kubernetes applications.
Remember, efficient log management is key to monitoring your applications and keeping them healthy. Using FluentBit and OpenObserve, you now have an efficient and open-source solution to this necessary task.
Thank you for following this guide, and happy logging!
Prabhat Sharma is the founder of OpenObserve, bringing extensive expertise in cloud computing, Kubernetes, and observability. His interests also encompass machine learning, liberal arts, economics, and systems architecture. Outside of work, Prabhat enjoys spending quality time playing with his children.