Configuring Okta SSO with OpenObserve and Dex

Chaitanya Sistla
February 28, 2025
4 min read
Don’t forget to share!
Try OpenObserve Cloud today for more efficient and performant observability.

Dex is an identity service that provides authentication for applications via OpenID Connect (OIDC) and other identity protocols. It acts as a bridge between identity providers like Okta and applications like OpenObserve, enabling seamless Single Sign-On (SSO) integration. Dex simplifies user authentication, supports multiple identity providers, and allows organizations to enforce centralized authentication policies.
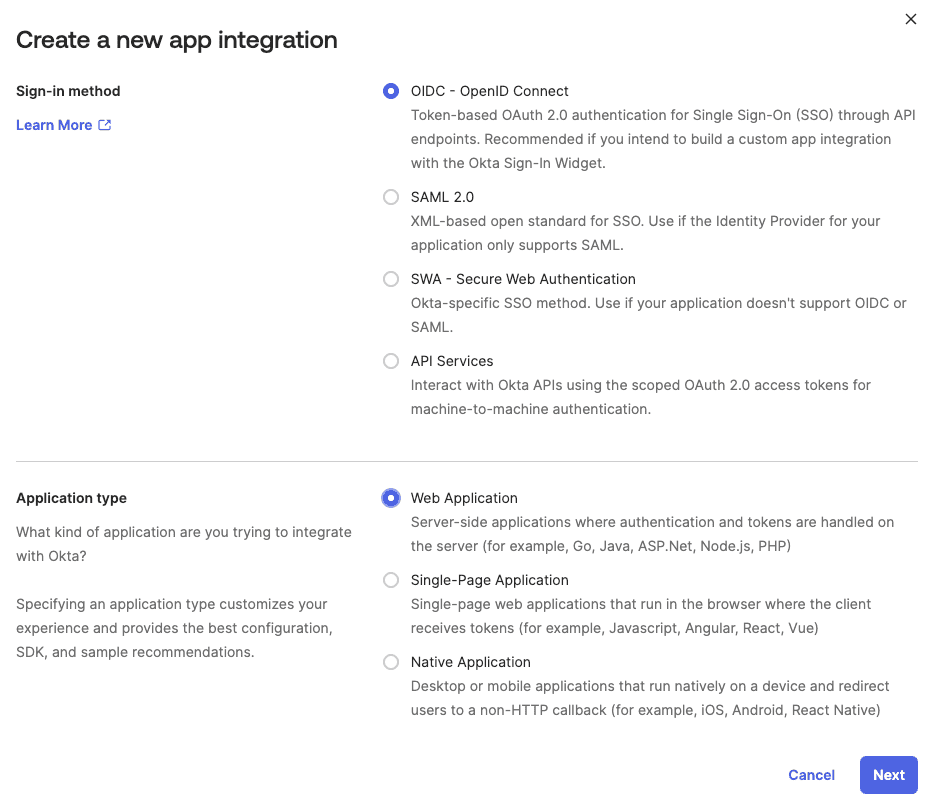
While both OpenID Connect (OIDC) and Security Assertion Markup Language (SAML) are used for authentication, OIDC is often preferred over SAML for modern applications due to the following reasons:
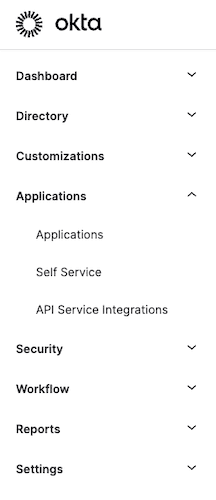
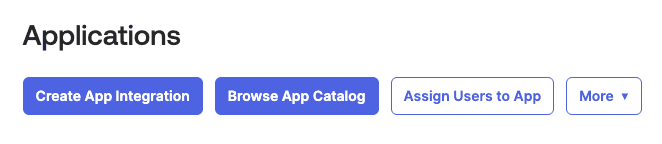
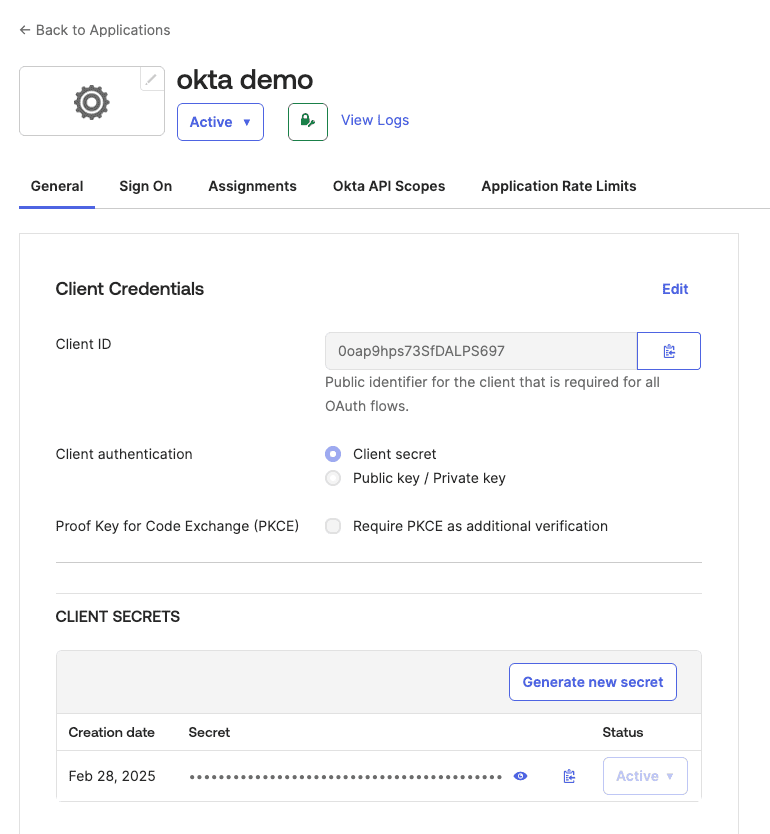
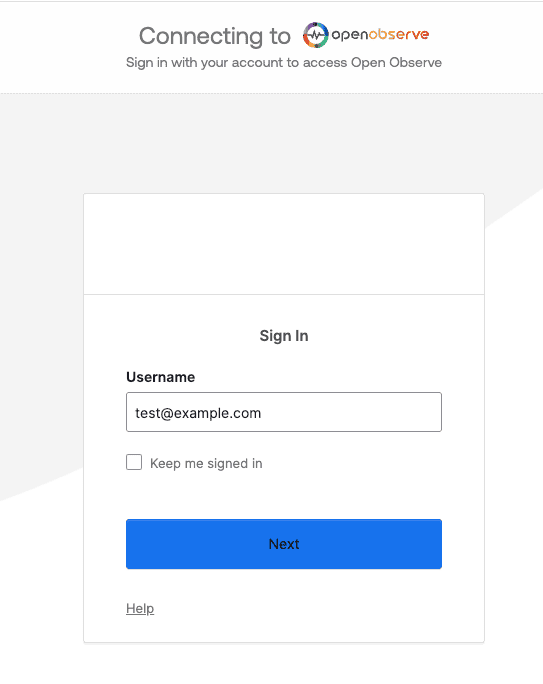
Follow these steps to configure Okta as an identity provider for OpenObserve using Dex:


Copy the below snippet and make the required changes as per your Okta configuration:
  dex:
    enabled: true
    parameters:
      O2_CALLBACK_URL: https://domain.example.com/web/cb
      O2_DEX_SCOPES: openid profile email groups
      O2_DEX_GROUP_ATTRIBUTE: groups
      O2_DEX_DEFAULT_ORG: default
      O2_DEX_DEFAULT_ROLE: user
      O2_DEX_ROLE_ATTRIBUTE: role
    config:
      issuer: https://domain-auth.example.com/dex
      storage:
        type: kubernetes
        config:
          inCluster: true
      web:
        http: 0.0.0.0:5556
      expiry:
        idTokens: 10m
        refreshTokens:
          validIfNotUsedFor: 60m
      staticClients:
        - id: o2-client
          redirectURIs:
            - https://domain.example.com/config/redirect
          name: o2-client
          secret: <> # This should be base64 encoded value of client secret. Gets mapped to O2_DEX_CLIENT_SECRET
      oauth2:
        responseTypes:
          - code
        skipApprovalScreen: true
      connectors:
        - type: oauth
          id: okta
          name: Okta Authentication
          config:
            insecureSkipEmailVerified: true
            clientID: your-okta-client-id
            clientSecret: your-okta-client-secret
            redirectURI: https://domain-auth.example.com/dex/callback
            tokenURL: https://your-okta-domain/oauth2/v1/token
            authorizationURL: https://your-okta-domain/oauth2/v1/authorize
            userInfoURL: https://your-okta-domain/oauth2/v1/userinfo
            scopes:
              - openid
              - profile
              - email
              - groups
            userIDKey: sub
Integrating Okta with OpenObserve using Dex (OAuth configuration) provides a secure, scalable, and modern authentication solution. By leveraging OAuth, organizations can ensure seamless user authentication, improve security, and enhance performance compared to legacy authentication protocols like SAML. This setup simplifies user access management and aligns with best practices for cloud-native applications.
Happy monitoring! 🚀
Chaitanya Sistla is a Principal Solutions Architect with 17X certifications across Cloud, Data, DevOps, and Cybersecurity. Leveraging extensive startup experience and a focus on MLOps, Chaitanya excels at designing scalable, innovative solutions that drive operational excellence and business transformation.