Logs
This page explains how to run your first log search in OpenObserve, set a time range, execute a query, apply VRL transformations, adjust display settings, and save or export the results.
Before you begin
Make sure you have the required access to use the Logs page. Ensure that at least one stream with data is available in your organization. Learn more about streams.
Get Started with Logs
To start using the Logs page:
- Select the organization from the dropdown at the top.
- In the Logs page, choose a log stream using the stream selector.
- Set the time range using the time range selector.
- Click Run query to view the logs for the selected time range.
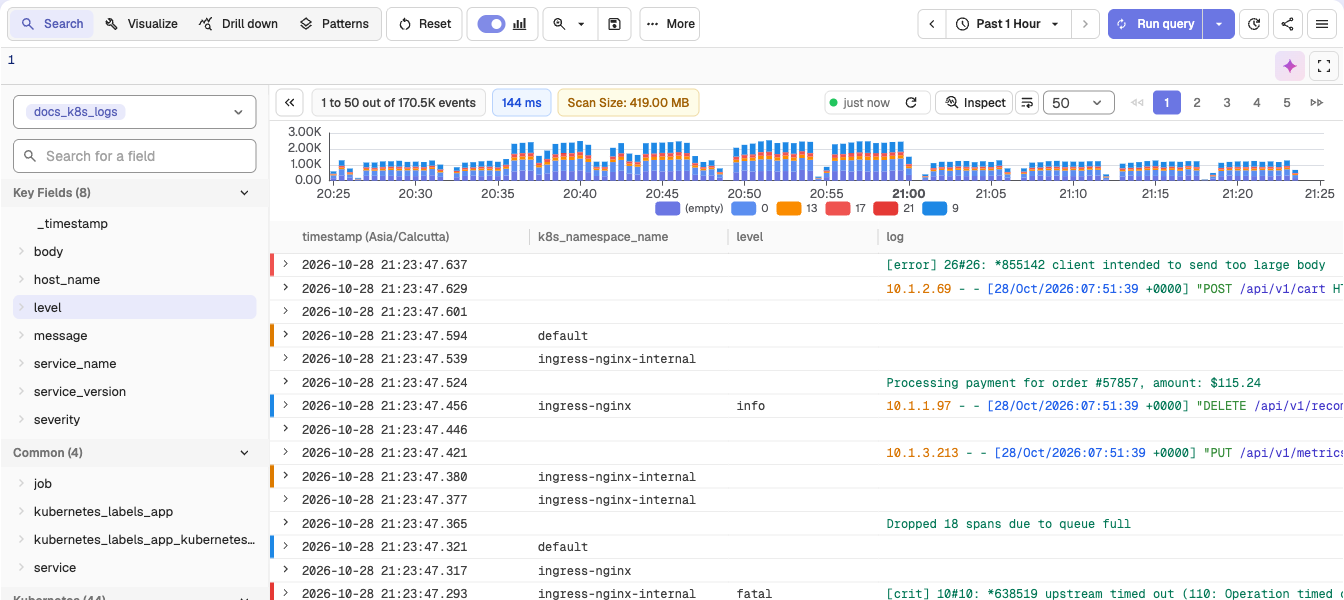
This is the minimum setup required to explore log data for the selected time range.
Use the Query Editor
The Query Editor allows you to define filters, expressions, and transformations on your log data.
The editor has two modes, non-SQL mode and SQL mode. Switch between them with SQL Mode in the More menu, under Set Once. Select Pin to toolbar next to it to keep the switch on the toolbar. The editor also turns SQL mode on by itself when you type a SELECT statement for an existing stream, and turns it off when you remove the SELECT.
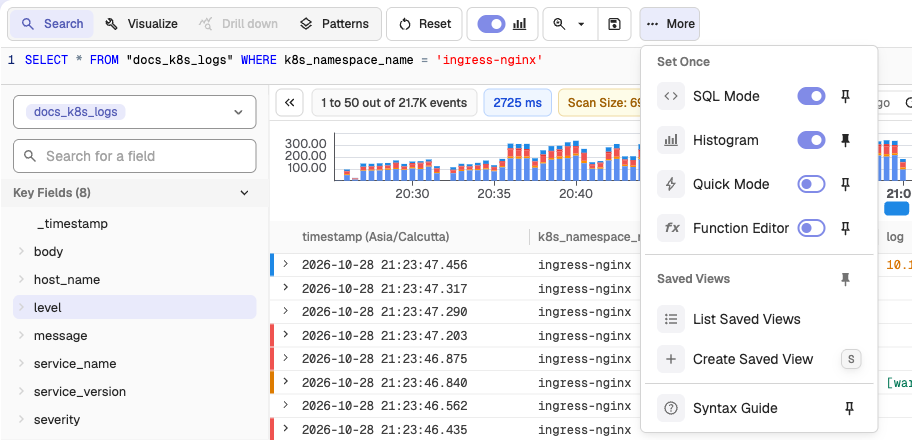
Non-SQL mode: When SQL mode is off. Use this mode to apply filters, functions such as match_all, or other field-based conditions without writing full SQL. Learn more about SQL functions.
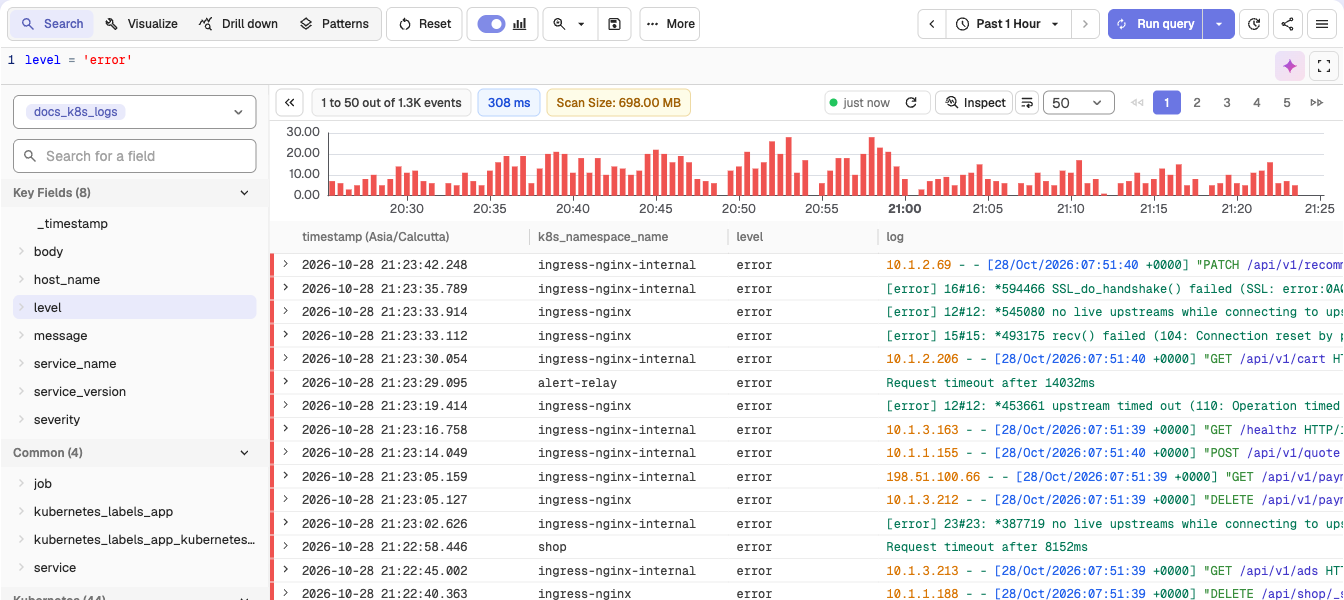
SQL mode: When SQL mode is on. It enables full SQL syntax. You can write complete SQL queries to control the selection, filtering, and ordering of log records.
For example,
SELECT * FROM "default" where k8s_namespace_name = 'openobserve'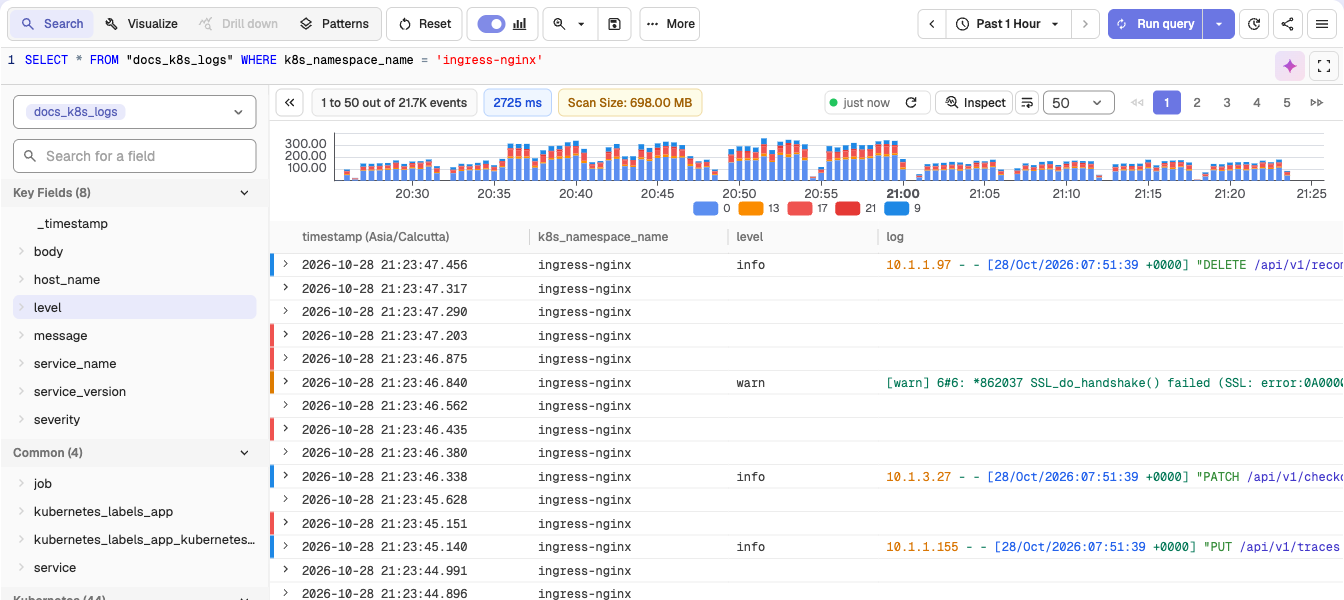
Switching between these modes updates the behavior and syntax of the query editor.
Query error handling
If a query references a field that does not exist in the stream, the results area shows a Field not found error state. If a query calls a function that is not defined, the error state shows Function not defined. In both cases the editor underlines the unknown name. Select Show details to view additional information from the server, such as the list of valid field names, and use Copy error details to copy the full error. When AI features are enabled, use Ask AI to fix my query to send the query and the error to the AI assistant for a correction.
Set Time Range
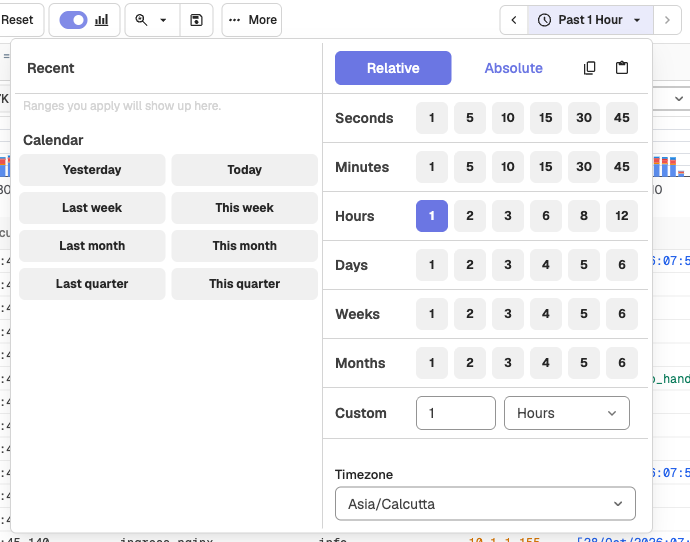
Click the time range selector to define a time window for your query:
- Choose a relative range such as Past 1 Hour or Past 7 Days, or open the Absolute tab and pick a range in the calendar.
- The Logs page applies the new range as soon as you select it.
Use the arrow buttons on either side of the picker to move the range one step back or forward.
Relative:
Absolute:
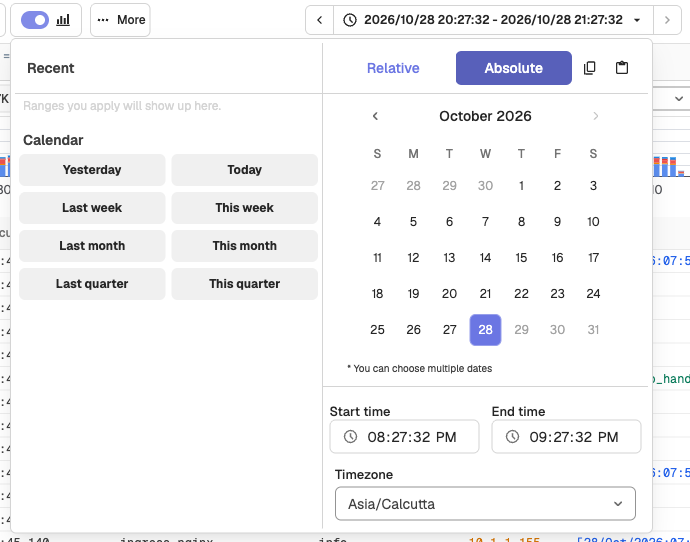
This setting limits the query to logs that fall within the selected time range, which helps reduce the amount of data scanned and improves query speed.
Copy and Paste Time Ranges
The time range picker includes Copy and Paste buttons so you can transfer a time range between browser tabs, share it with a teammate, or reuse a saved time window.
Copy a time range
Click the Copy (content-copy) icon in the time range picker toolbar. The selected range is copied to your clipboard as a JSON object containing start and end epoch timestamps in microseconds, which avoids any timezone ambiguity when pasted.
Paste a time range
Click the Paste (content-paste) icon. If your clipboard contains a valid date range, the picker switches to the Absolute tab and applies it. Supported paste formats include:
| Format | Example |
|---|---|
| Copy-emitted JSON | {"start_date":1721557986000000,"end_date":1721565186000000} |
| ISO 8601 range | 2026-07-21T13:33:06Z - 2026-07-21T15:33:06Z |
| Human log format | Jul 21, 2026 13:33:06.000 +0000 - Jul 21, 2026 15:33:06.000 +0000 |
| Absolute date range | 2026/07/21 13:33:06 - 2026/07/21 15:33:06 |
| Epoch timestamps | 1721557986000000 - 1721565186000000 (µs, ms, or seconds) |
You can also paste a single date-time value (any of the above formats without the - second_value part). The picker applies it to whichever side of the current range it sits closer to and adjusts the start or end accordingly.
If the pasted text cannot be parsed, an error toast appears with the message Could not parse date range.
View and Explore Logs
After the query runs successfully, the results table shows all log entries that match the selected stream, time range, and query conditions.
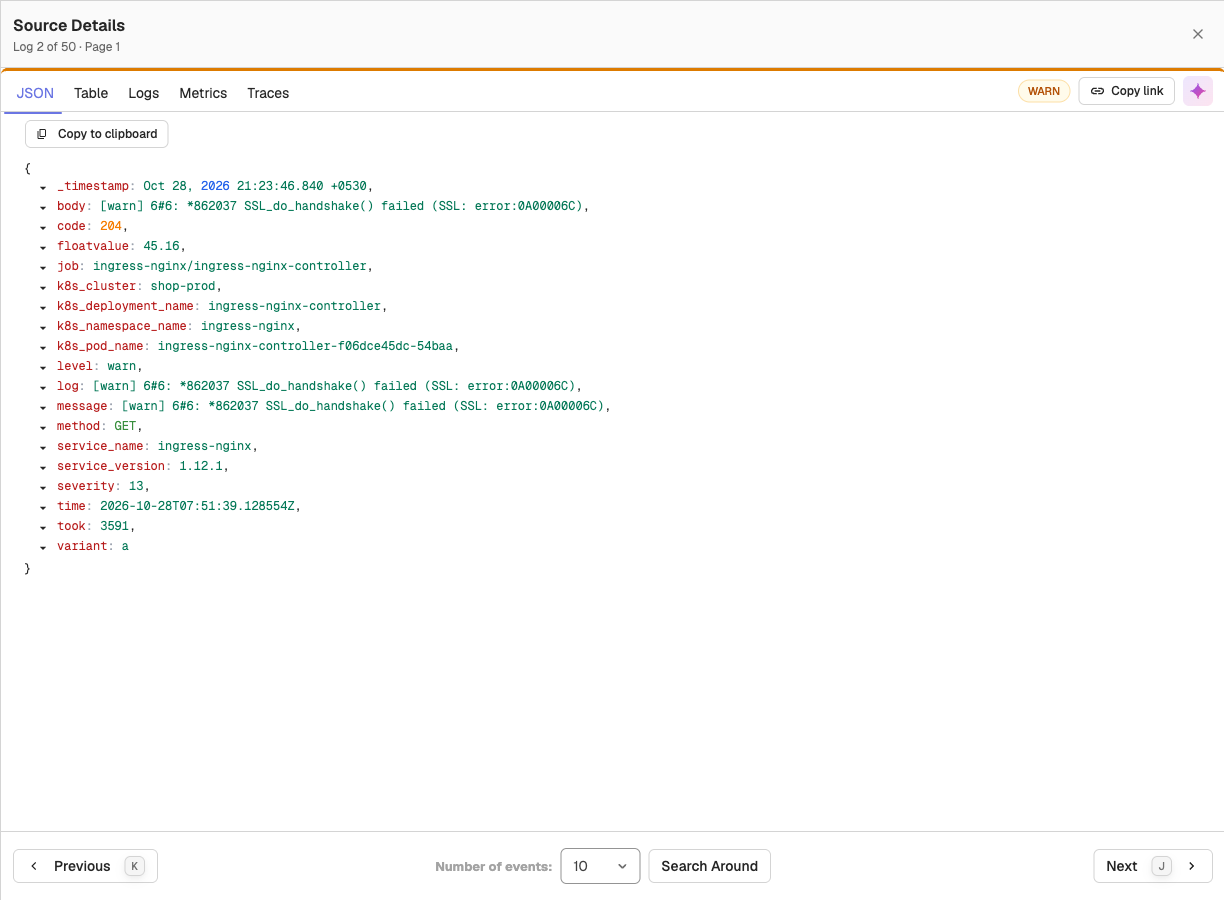
Click a row to open the Source Details panel for that record. The panel opens on the JSON tab, which shows the raw record, or on the last of JSON and Table you used. Switch to the Table tab to list the record's fields and values. Drag a tab to reorder the tab bar; the order is saved in the browser. In Enterprise Edition, the panel also shows correlated Logs, Metrics, and Traces tabs when telemetry correlation is enabled. See Correlation Settings.
Use the Histogram and Views
-
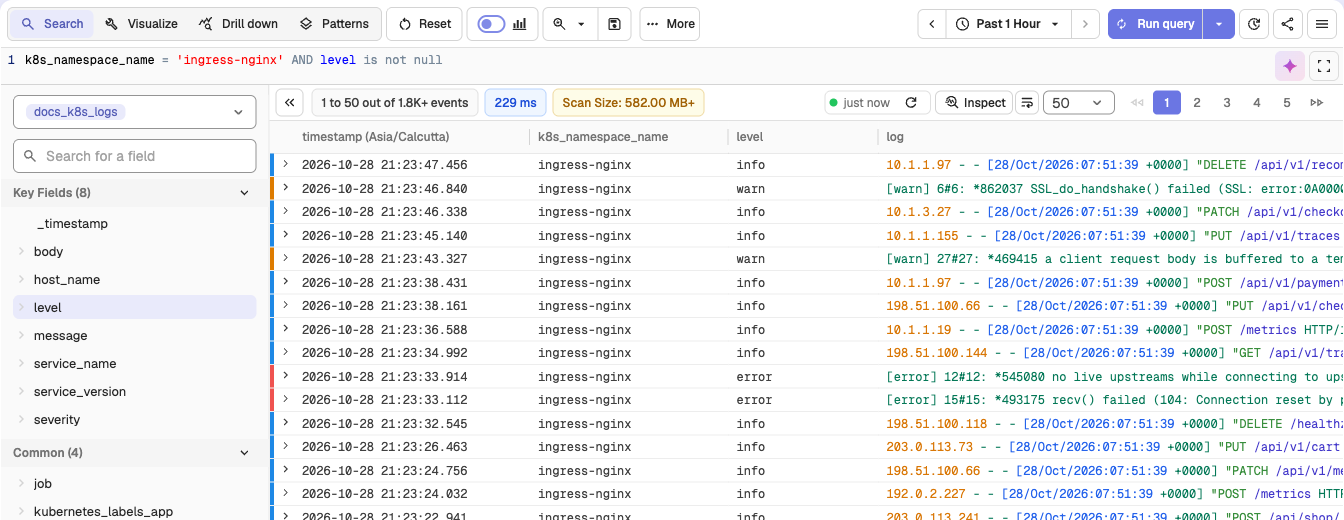
The histogram displays log event distribution over time. Use the Histogram switch to hide it when not needed. The switch is pinned to the toolbar by default and is also in the More menu, under Set Once.
-
The view buttons on the left of the toolbar switch what the page shows:
- Search: the log results table.
- Visualize: opens a field-based query builder where you pick fields and aggregations to build a chart. Use Add To Dashboard to save the chart to a dashboard.
- Drill down: compares log volume across fields. See Insights. Not available in SQL mode.
- Patterns: groups logs into recurring templates. See Log Patterns. Enterprise only.
- Timechart: charts the query you already wrote. Shown only when the server sets
ZO_TIMECHART_ENABLED=true(defaultfalse). See Timechart View.
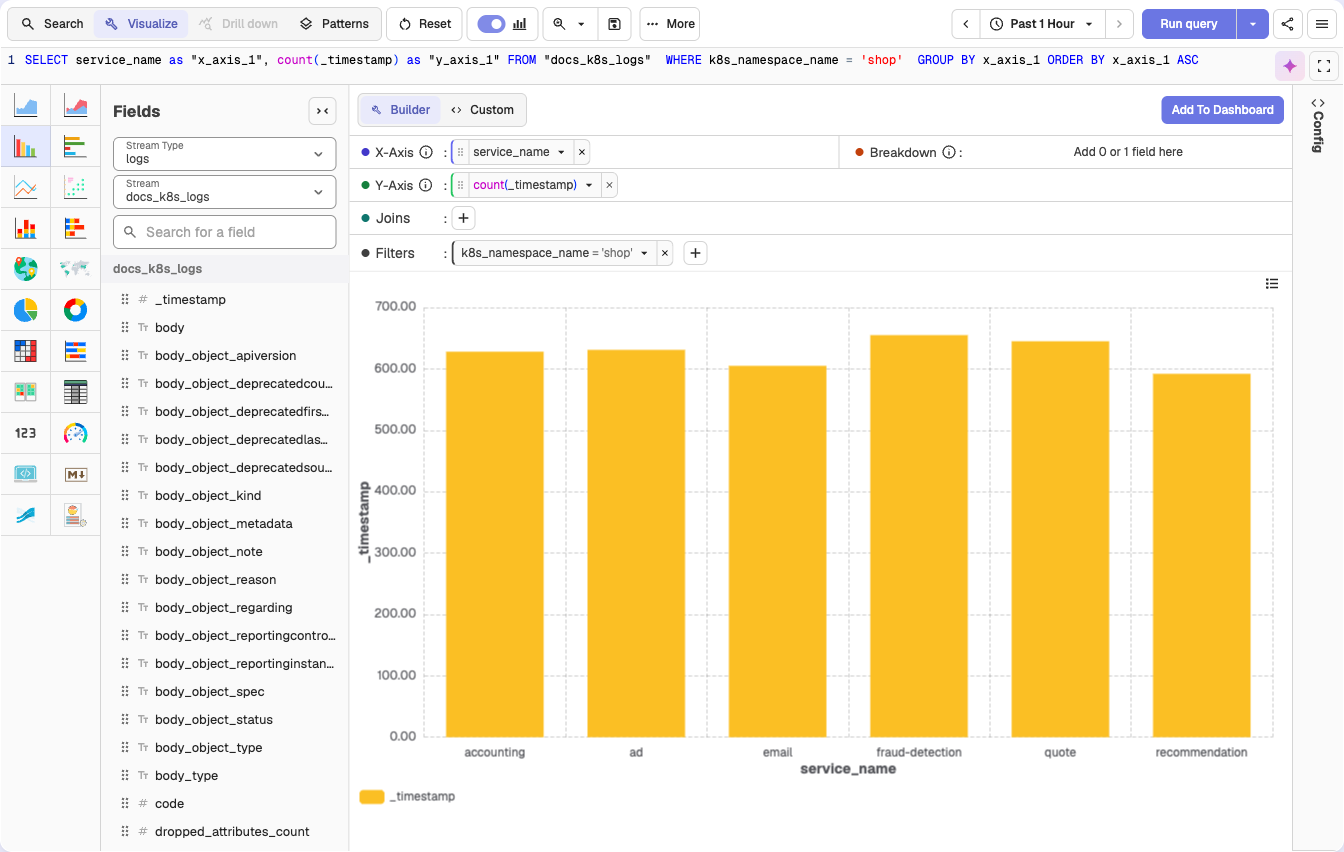
These tools help you quickly identify trends or activity spikes within the selected time range.
Transform Logs with VRL
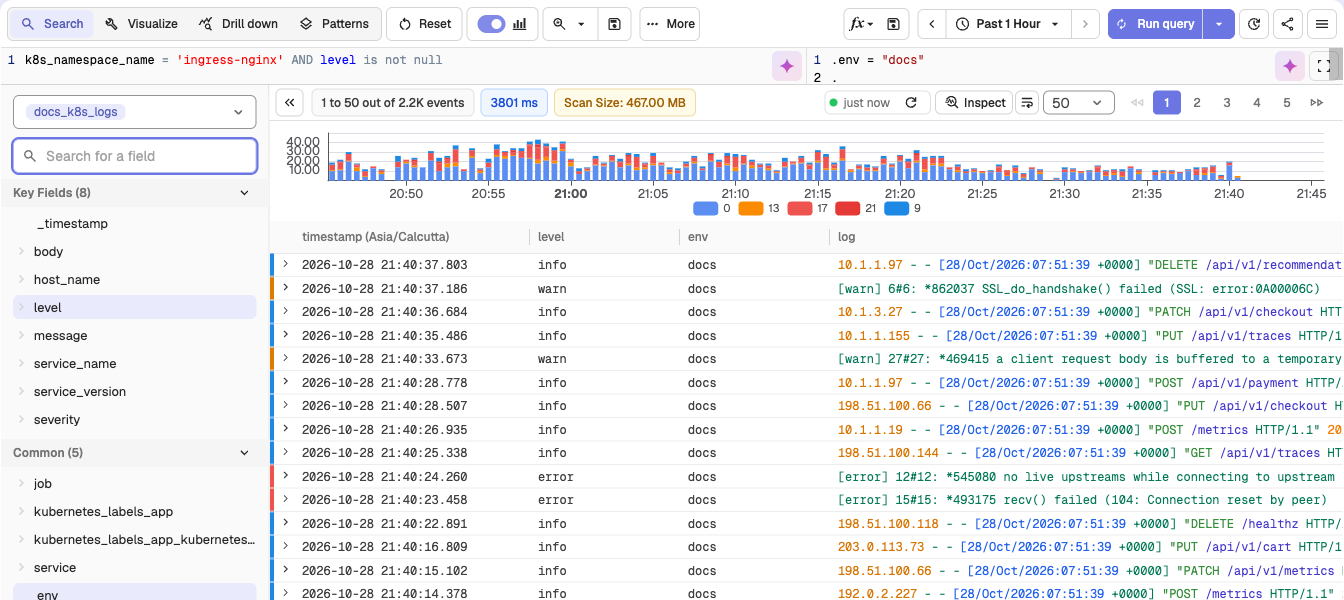
Turn on Function Editor in the More menu, under Set Once, to write and apply a VRL function to the query output. When it is pinned, use the fx switch on the toolbar instead.
- Go to the Function Editor.
- Select a saved function or write one manually. Learn more about VRL functions.
- Run the query to apply the transformation.
Adjust Display Options
-
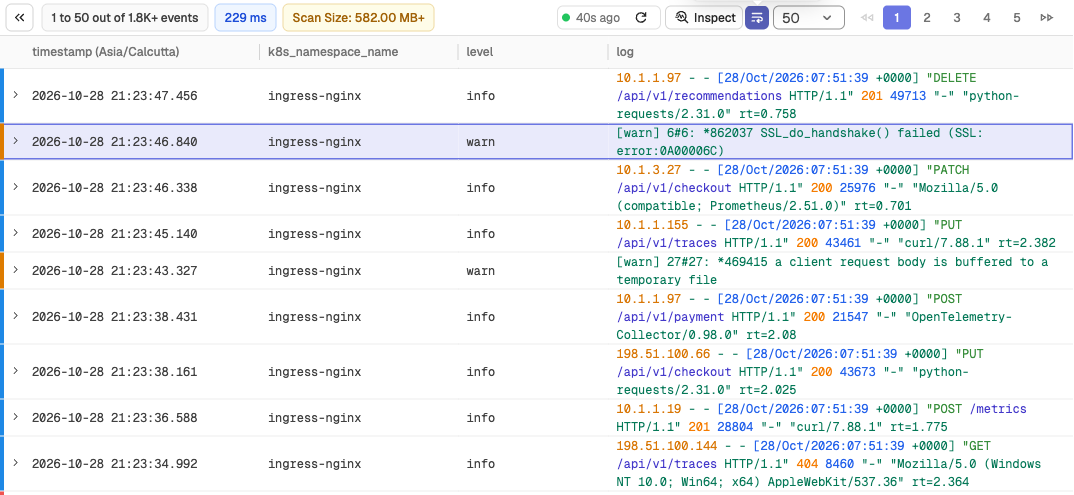
Wrap Table Content: Turn on word wrapping in the results table.
-
Auto Refresh: Set a refresh interval next to Run query to update query results continuously.
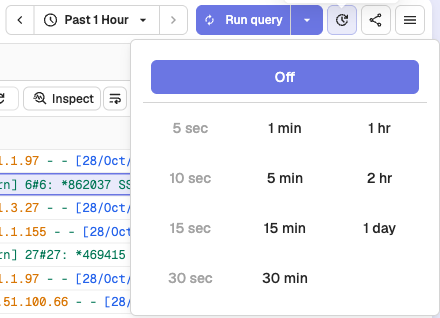
These options help customize the view for your analysis needs.
Save and Reuse Views
To save a query and its configuration:
- Open the More menu, point to Saved Views, and click Create Saved View. If saved views are pinned to the toolbar, click the save icon there instead.
- Enter a name in the dialog box.
- Click Save.
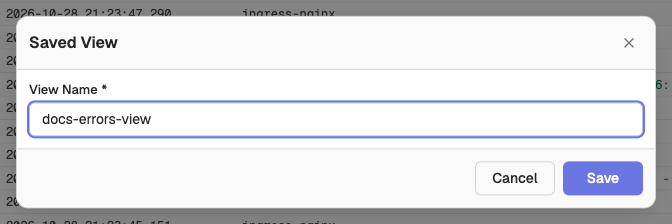
To reopen a saved view, open Saved Views in the More menu. The list shows Favorites and All Saved Views. Use the actions next to a view to apply, update, or delete it.
Share a Search
Click the Share Link button in the search bar to copy a shortened URL for the current search. The link restores the stream, query, time range, and display settings when opened. Relative time ranges are converted to absolute start and end times, so the link opens the same data every time.
Export and Schedule Searches
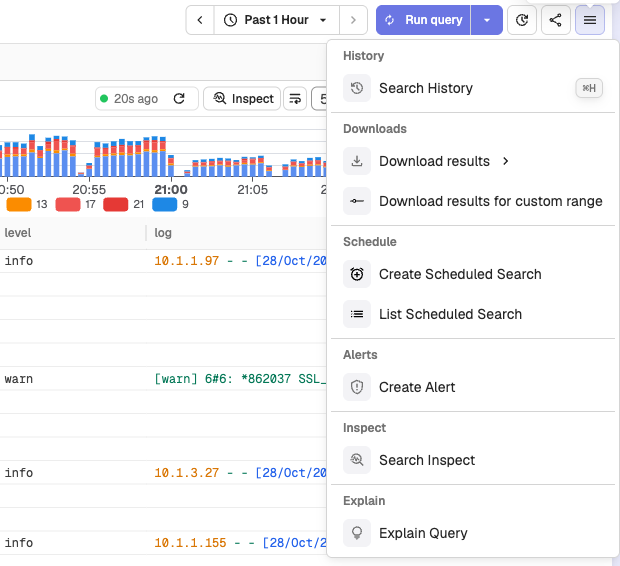
Click the More Actions menu (the three-bar icon) to access:
-
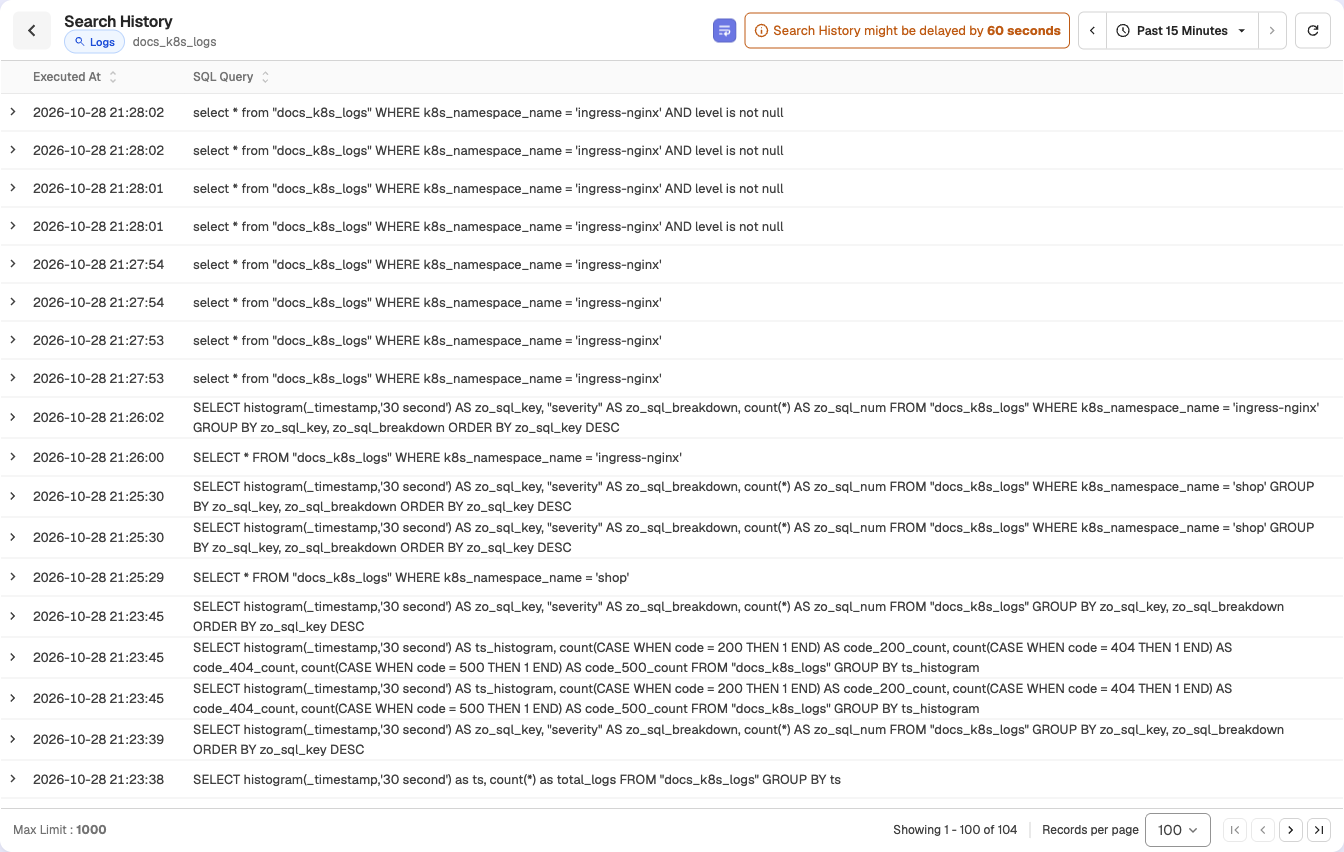
Search History: View your recently executed queries.
-
Download results: Export the results of the current query as CSV or JSON.
-
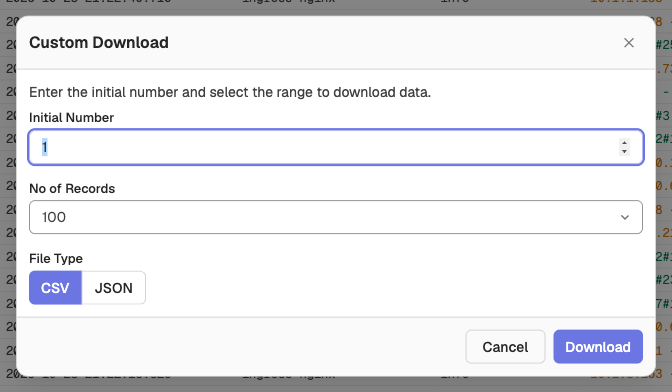
Download results for custom range: Export a chosen number of records, starting from a record number you set, as CSV or JSON, without modifying the active query.
-
Create Scheduled Search: Run the current query as a background search job. Scheduled search is available in Enterprise and Cloud editions.
-
List Scheduled Search: View and manage scheduled search jobs.

The same menu also lets you create an alert from the current search, open Explain Query when SQL mode is on (see Explain and Analyze Query), and, in Enterprise Edition, open Search Inspect when the search inspector is enabled.
Next Steps
- To learn how to visualize logs, refer to the Dashboards documentation.
- To learn how to monitor logs continuously, refer to the Alerts documentation.
Need some help?
- Join our Community Slack
- Or Contact support
Logs Overview
Explore log data in OpenObserve. View and filter logs by time and fields, run SQL queries, transform with VRL, save views, and schedule recurring searches.
Refresh Cache Run Query
Refresh Cache and Run Query clears outdated cached results and re-runs your query against the latest data, fixing gaps from delayed ingestion or cache issues.