

Real-time Alerts
Create a real-time alert
Real-time alerts trigger immediately when matching data is ingested. Unlike scheduled alerts, they evaluate each event as it arrives rather than running at fixed intervals.
Prerequisites
- At least one data stream (logs, metrics, or traces) with ingested data
- At least one notification destination configured
- Appropriate permissions to create alerts
Step 1: Select real-time type
- Go to Alerts in the left sidebar.
- Click New alert in the top-right corner.
- In the top bar, change Alert Type to Realtime. The form simplifies — the condition sentence and evaluation schedule are hidden.
Step 2: Configure the top bar
Fill in the required fields across the top bar:
- Alert name: Enter a descriptive name. Alert names cannot contain spaces or the characters
: # ? ' " % & /. Use underscores (_) instead. - Folder: Select a folder to organize the alert, or click + to create a new one
- Stream Type: Select logs, metrics, or traces
- Stream Name: Select the data stream to monitor
- Alert Type: Select Realtime
Step 3: Add filter conditions
Click the filters dropdown and define filters that match the events you want to alert on. Every ingested event that matches triggers the alert.
- Click + Condition to add a filter row.
- Select a field, operator, and value (e.g.,
level = error). - Additional conditions are joined with AND logic.
Tip: See Alert Conditions and Filters for a detailed explanation of filter operators and condition groups.
Step 4: Configure settings and save
- Cooldown period: Minimum time between repeated notifications (default: 10 minutes)
- Destination: Select one or more notification destinations. Click the refresh icon to reload, or Add Destination to create a new one.
- Creates Incident: Toggle on to automatically create an incident when the alert triggers
Click Save at the bottom.
Note
Real-time alerts do not have a look back window or evaluation frequency since they evaluate each event as it arrives.
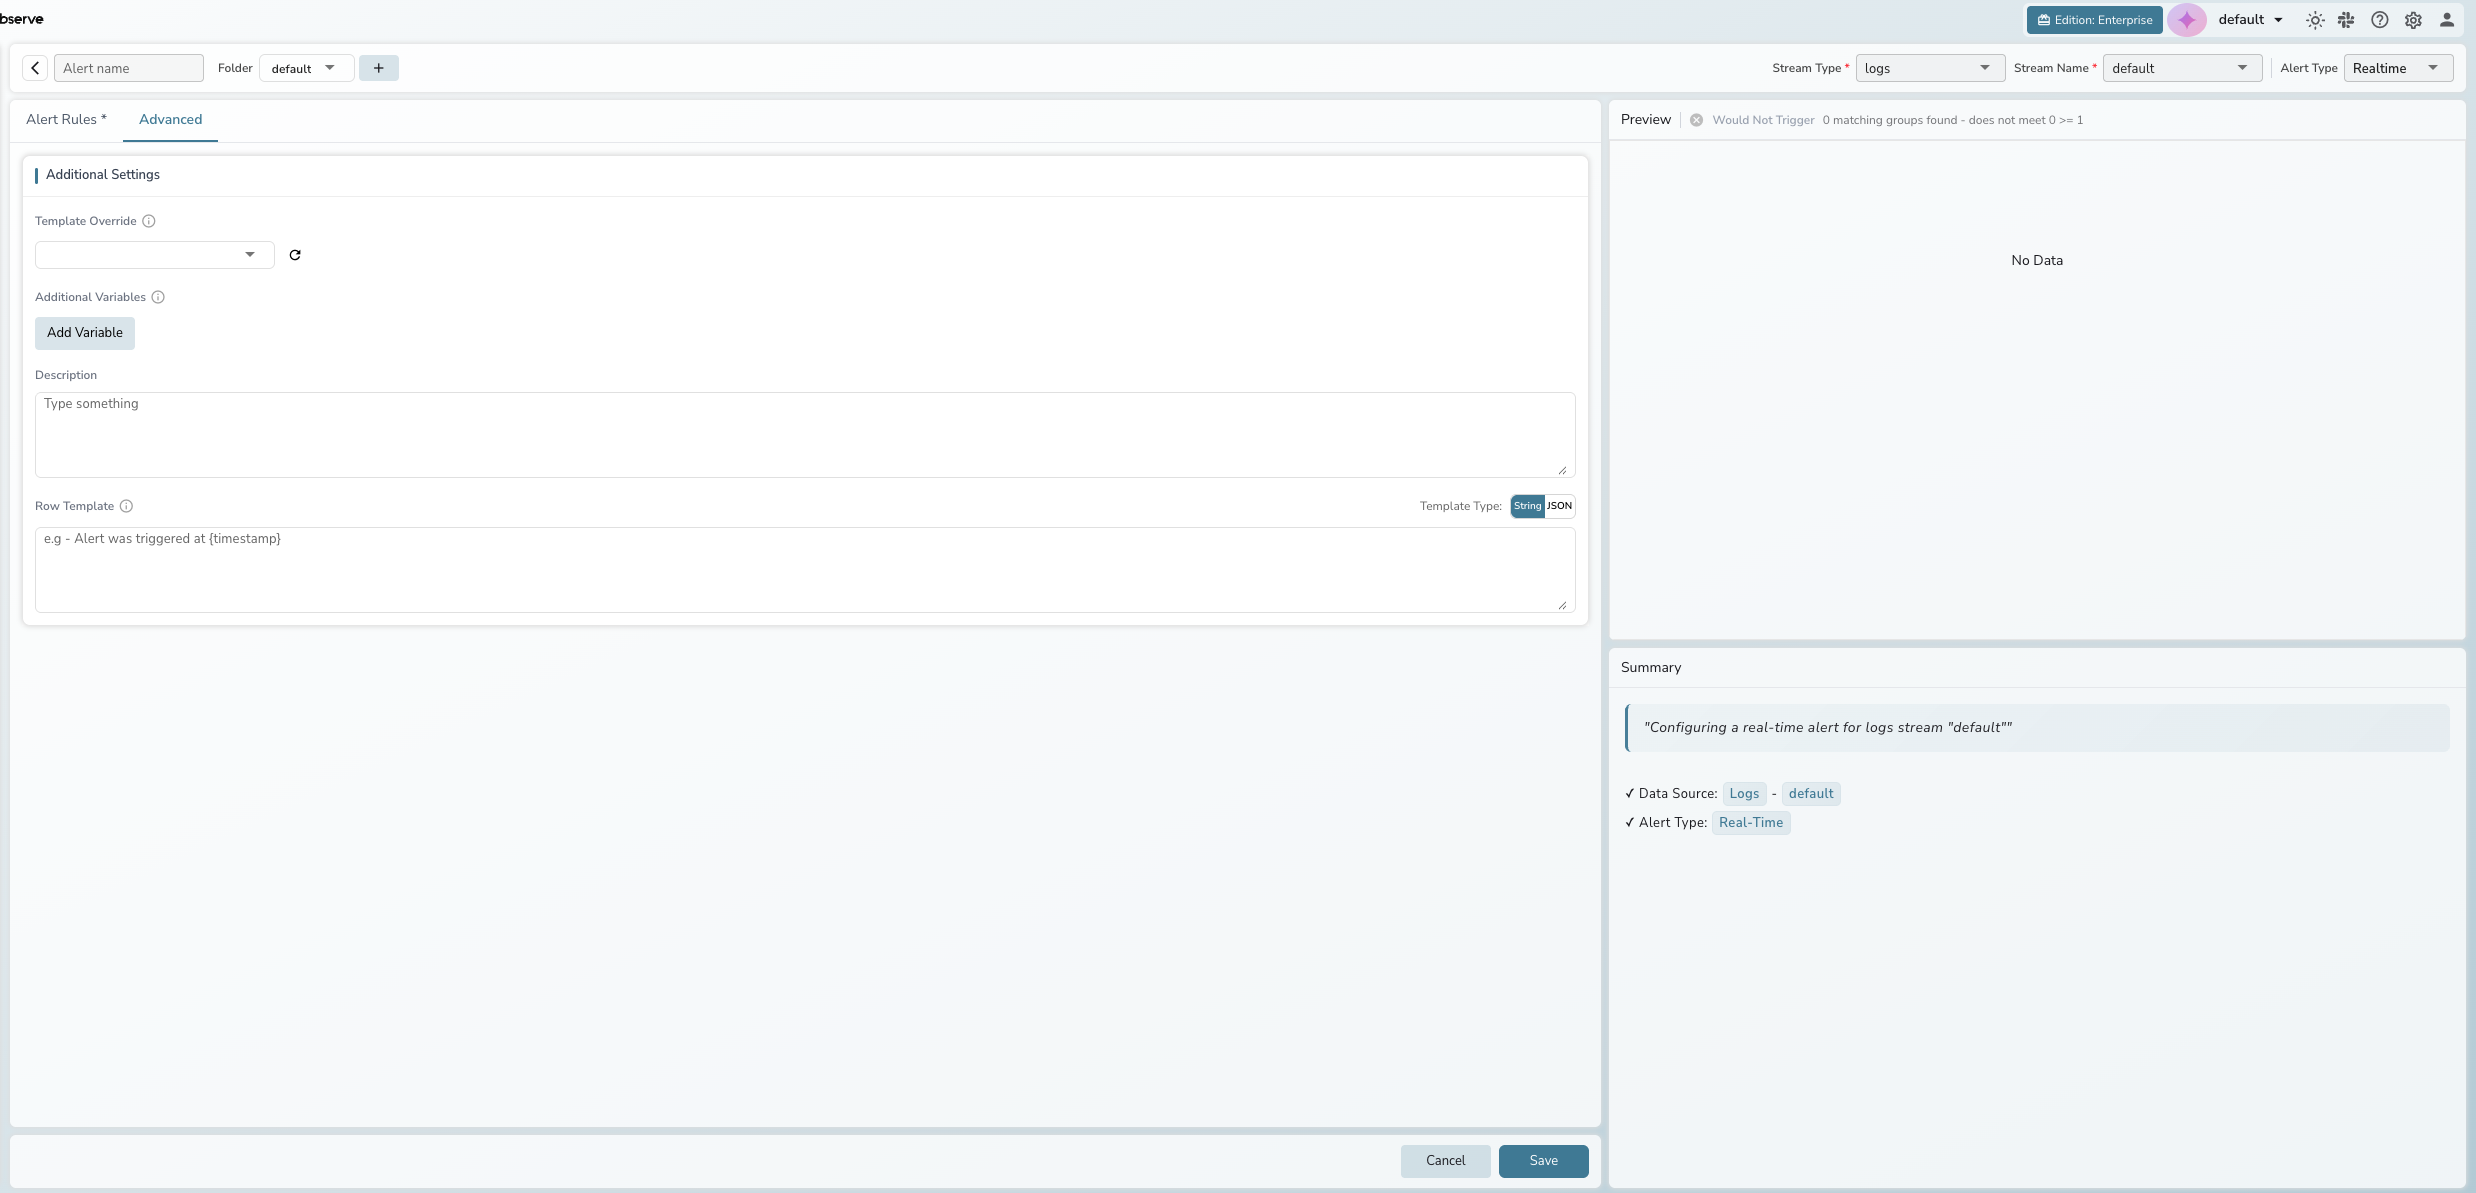
Advanced settings
The Advanced tab provides additional options for real-time alerts. Click Advanced next to the Alert Rules tab.
Additional settings
- Template Override: Select a custom notification template to override the default
- Additional Variables: Add key-value pairs available in notification templates via the Add Variable button
- Description: Free-text description for the alert
- Row Template: Customize the format of individual data rows in notifications. Toggle between String and JSON template types
Note
Compare with Past and Deduplication are available for scheduled alerts only. See Scheduled Alerts for those features.
Edit an existing alert
- Go to Alerts in the left sidebar.
- Click the alert name in the table to open it.
- Modify any fields. Note that Stream Type, Stream Name, and Alert Type are read-only for existing alerts.
- Click Save to apply changes.
Troubleshooting
Alert not triggering
Problem: The alert does not fire when expected.
Solution:
- Verify the Stream Name has recent data being ingested.
- Check that the filter conditions match the incoming data.
- Ensure the alert is enabled in the alerts list (toggle in the Status column).
Too many notifications
Problem: The alert fires too frequently, causing notification fatigue.
Solution:
- Increase the Cooldown period to reduce notification frequency.
- Add more specific Filters to narrow the data the alert evaluates.
Destination not appearing
Problem: A configured destination does not show in the dropdown.
Solution:
- Click the refresh icon next to the destination dropdown.
- Verify the destination exists in Alerts > Destinations.
- Click Add Destination to create one directly from the alert form.